Toss pizza dough
Practice tossing and stretching pizza dough to make a small homemade pizza, learning hand coordination, dough texture, and safe kitchen habits.


Step-by-step guide to toss pizza dough
How to Toss Pizza Dough Tutorial
Step 1
Wash your hands with soap and warm water for 20 seconds.
Step 2
Tie back long hair and roll up sleeves so nothing falls into the dough.
Step 3
Sprinkle a light dusting of flour on the countertop or board.
Step 4
Place the dough ball on the floured surface.
Step 5
Press the dough gently with your fingertips to flatten it into a round disc.
Step 6
Drape the disc gently over your knuckles so the edges hang down to start stretching.
Step 7
Rotate the dough a few times on your knuckles to widen and thin the crust edge.
Step 8
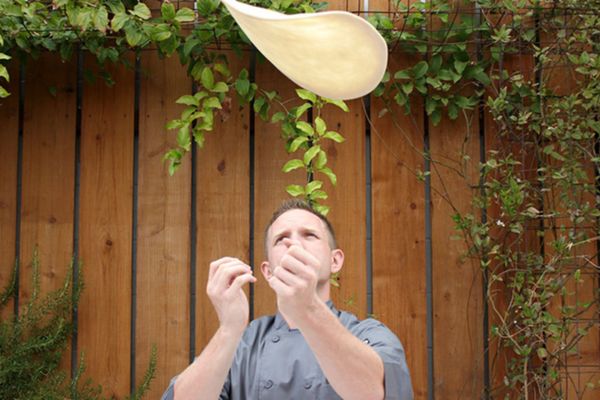
Give the dough a small gentle toss with an upward movement of your palms to lift and stretch it a bit.
Step 9
Press any tiny holes closed with your fingertip to repair the dough.
Step 10
Move the shaped dough onto a lightly oiled or floured baking sheet or pizza pan.
Step 11
Spoon pizza sauce onto the center and spread it outward, leaving a rim for the crust.
Step 12
Sprinkle shredded cheese and add your favorite toppings evenly.
Step 13
Ask an adult to preheat the oven to 425°F.
Step 14
Ask an adult to place the pizza in the oven and bake until the crust is golden about 8–12 minutes and then remove it using oven mitts.
Step 15
Share a photo of your finished pizza and what you learned about tossing dough on DIY.org.
Help!?
What can I use if I don't have a pizza pan or baking sheet mentioned in the instructions?
If you don't have a pizza pan, use a lightly oiled rimmed baking sheet or a preheated cast-iron skillet as an alternative when you 'move the shaped dough onto a lightly oiled or floured baking sheet or pizza pan.'
My dough keeps tearing when I try to toss it—how can I fix that as the instructions describe?
If the dough tears during the 'give the dough a small gentle toss' step, press any tiny holes closed with your fingertip, let the dough rest on the floured surface to relax, and continue widening it by rotating on your knuckles to avoid overstretching.
How can I adapt the tossing activity for different ages while following the same steps like pressing, rotating, and topping?
For younger children, skip the 'small gentle toss' and have them press the dough with their fingertips and spoon sauce and sprinkle cheese while an adult handles the 'ask an adult to preheat the oven' and baking steps, whereas older kids can practice rotating on knuckles and gentle tosses before baking under supervision.
How can we enhance or personalize the pizza after spreading sauce and adding toppings as the activity instructs?
To personalize the pizza, brush the crust rim with olive oil and minced garlic or sprinkle dried herbs before baking and consider making mini pizzas with different toppings and then share a photo and what you learned on DIY.org.
Watch videos on how to toss pizza dough
Learn To Toss Pizza Dough in 3 minutes
3 Videos
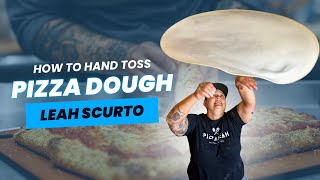
Learn To Toss Pizza Dough in 3 minutes
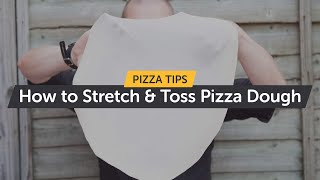
How to Stretch and Toss Pizza Dough | Making Pizza at Home
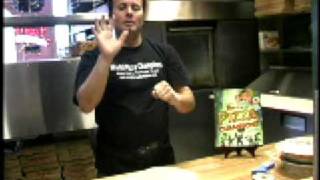
Tossing pizza dough - instructions by Tony Gemignani
Facts about baking and kitchen safety for kids
🍕 Pizza as we know it started in Naples, Italy in the 18th–19th century.
👐 Tossing dough by hand helps stretch it evenly while keeping the airy outer crust (the cornicione) fluffy.
🌾 Gluten — the protein network in flour — gives pizza dough the stretchiness that makes tossing possible.
🔥 A traditional Neapolitan pizza is baked in a very hot wood-fired oven and can cook in about 60–90 seconds.
👨🍳 The 'art of Neapolitan pizza-making' was added to UNESCO's list of Intangible Cultural Heritage in 2017.
How do you practice tossing pizza dough with a child?
What materials do I need to practice tossing pizza dough?
What ages is tossing pizza dough suitable for?
What are the benefits and safety tips for kids tossing pizza dough?
