Mill grain
Make a simple hand grain mill using plastic bottles, sandpaper, and a rolling pin to grind wheat berries into flour and observe texture.


Step-by-step guide to make a simple hand grain mill
Our experience using a hand grain mill | WonderMill Junior Deluxe | Grinding Grains to Fresh Flour
Step 1
Gather all the materials on your table so everything is ready.
Step 2
Lay the towel or newspaper on the table to protect the surface.
Step 3
Ask an adult to cut the plastic bottle lengthwise to make a long trough.
Step 4
Use tape to cover any sharp or rough cut edges so they are safe to touch.
Step 5
Cut a strip of sandpaper to match the inside bottom of the bottle trough.
Step 6
Tape the sandpaper inside the bottle trough with the rough side facing up.
Step 7
Place the sandpaper-lined trough on the towel with the open side up.
Step 8
Put the bowl or plate at the lower end of the trough so it will catch the flour.
Step 9
Pour a small handful of wheat berries into the top of the sandpaper trough.
Step 10
Roll the rolling pin back and forth over the wheat berries about ten times to crush them.
Step 11
Tilt the trough and pour the crushed bits into the bowl to collect them.
Step 12
Pinch a small amount and rub it between your fingers to feel whether it is powdery like flour.
Step 13
Repeat pouring a few berries and rolling until the grains feel fine enough for flour.
Step 14
Clean up leftover grains and wash the tools with an adult when you are finished.
Step 15
Share a photo or story of your hand-made grain mill and the flour you made on DIY.org.
Help!?
What can we use if we don't have a plastic bottle or sandpaper for the trough?
If you don't have a plastic bottle an adult can cut a clean half of a cereal box or a PVC pipe to make the trough, and if you lack sandpaper tape in a strip of coarse fabric or emery cloth with the rough side facing up.
The wheat berries aren't turning into powder—what should we check or try?
Check that the sandpaper strip is taped firmly inside the bottle trough with the rough side up, pour smaller handfuls, roll the rolling pin firmly about ten times or repeat the rolling and then try a finer-grit sandpaper or a second pass if large pieces remain.
How can I adapt this activity for younger children or older kids looking for a challenge?
For younger kids have an adult cut the bottle and help with taping while the child pours small handfuls and rolls once or twice, and for older kids let them test different sandpaper grits, count rolls, measure flour yield, or try milling other grains like oats.
How can we improve or personalize our hand-made grain mill and flour outcome?
Decorate the outside of the bottle trough, tape a funnel to the top for neater pouring, add a fine sieve to sift the crushed bits for smoother flour, and use your flour to bake a simple flatbread to test the result.
Watch videos on how to make a simple hand grain mill
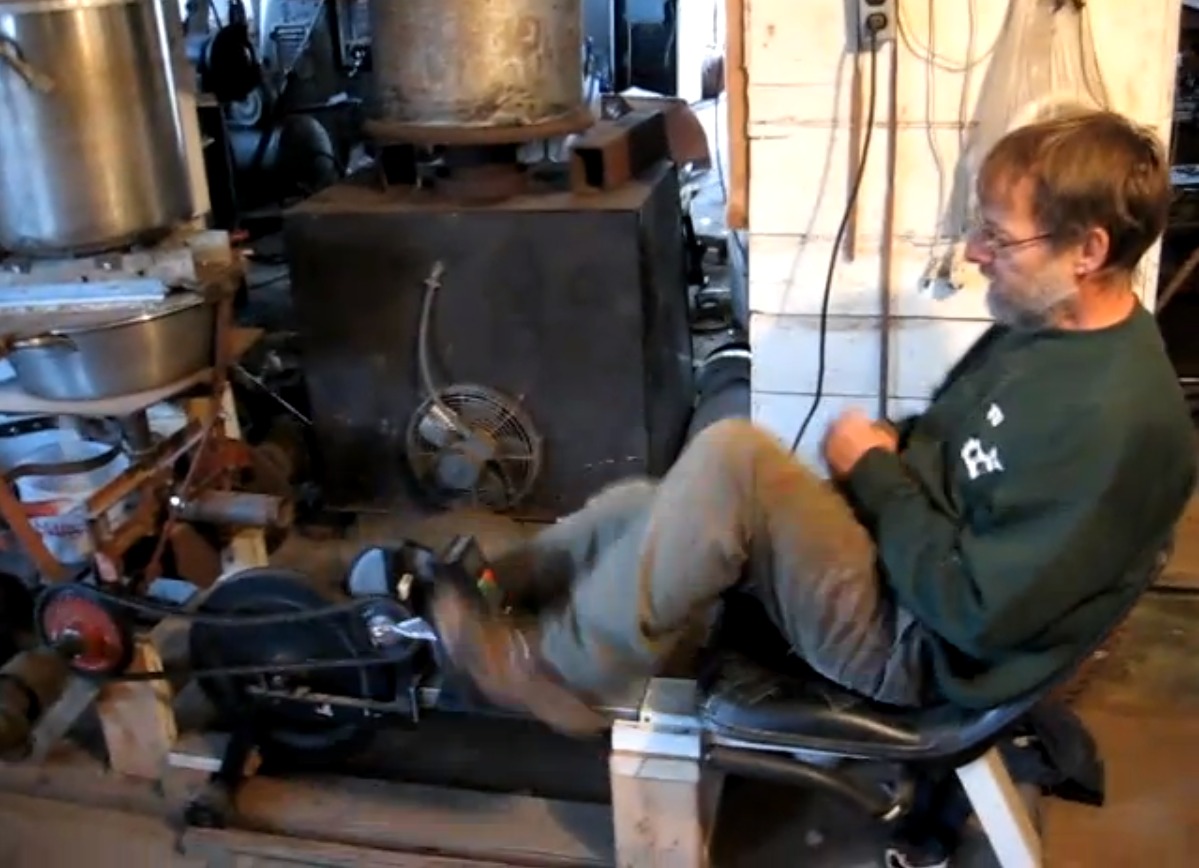
How to Mill Wheat to Make Flour at Home
4 Videos
How to Mill Wheat to Make Flour at Home
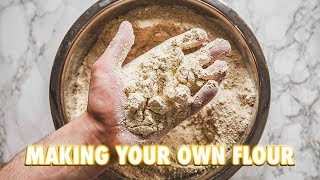
How To Make Your Own Flour At Home

How to Mill Fresh Flour at Home | Simple Guide for Beginners
How wheat is milled into flour
Facts about grain milling for kids
🌾 Wheat berries are the whole grain — grind them and you get true whole-wheat flour with bran, germ, and endosperm.
🪨 People have ground grain with hand tools like querns and mortar-and-pestles for thousands of years to make bread.
♻️ Turning plastic bottles into a grain mill is a simple upcycling trick that gives plastic a second life as a useful tool.
🍞 Freshly milled flour often tastes nuttier and fresher and can change how bread and pancakes rise and feel.
🛠️ A bit of sandpaper inside a bottle adds tiny abrasive 'teeth' and a rolling pin gives pressure to crush wheat into flour.
How do you make a simple hand grain mill from plastic bottles?
What materials do I need to make a DIY bottle grain mill?
What ages is a homemade bottle mill activity suitable for?
What safety precautions should I take when milling grain with a bottle mill?
