Develop various knitting styles
Learn and practice several simple knitting styles like garter, stockinette, and ribbing by making small scarves, headbands, and swatches for gifts.


Step-by-step guide to learn and practice basic knitting styles
How to Start Knitting (Step-by-Step Beginner Guide) 🧶
Step 1
Gather your materials and sit at a clean bright table so you can see your stitches clearly.
Step 2
Cast on 20 stitches onto one needle using a cast-on you know.
Step 3
Knit every row for 8 rows to make a garter stitch swatch.
Step 4
Bind off all stitches from the needle to finish the garter swatch.
Step 5
Cast on 20 stitches again onto one needle for a stockinette swatch.
Step 6
Work 12 rows of stockinette by knitting one row then purling the next row and repeat.
Step 7
Bind off all stitches to finish the stockinette swatch.
Step 8
Cast on 20 stitches onto one needle for a ribbing swatch.
Step 9
Work 12 rows of 2x2 ribbing by repeating knit 2 stitches then purl 2 stitches across each row.
Step 10
Bind off all stitches to finish the ribbing swatch.
Step 11
Choose which gift to make next: a headband or a small scarf.
Step 12
If you chose headband cast on 18 stitches; if you chose scarf cast on 30 stitches.
Step 13
Knit in your chosen stitch pattern until the headband measures about 18 inches or the scarf measures about 30 inches.
Step 14
If you made a headband overlap the short ends and stitch them together with the tapestry needle to make a loop; if you made a scarf weave in all yarn tails neatly with the tapestry needle.
Step 15
Share a photo and a short note about your finished knitting project on DIY.org.
Final steps
You're almost there! Complete all the steps, bring your creation to life, post it, and conquer the challenge!

Help!?
I don't have a tapestry needle or the exact yarn — what can I substitute?
Use a large blunt sewing or darning needle or a small crochet hook instead of the tapestry needle to weave in yarn tails and sew the headband seam, and substitute a similar-weight yarn (e.g., worsted for worsted) while changing needle size so your 20-stitch swatches match the sample fabric.
My stitches look uneven or my stockinette keeps curling—how can I fix it?
Keep an even tension while casting on and knitting, pick up any dropped stitches right away with a spare needle or crochet hook, and block the stockinette swatch by gently wetting and laying it flat to dry to reduce curling while confirming you knit and purl on the correct rows for stockinette and follow 'k2, p2' for the ribbing swatch.
How can I adapt this activity for different ages?
For younger children use bulky yarn and larger needles and cast on fewer stitches (for example 12 instead of 20) with shorter target lengths and adult help for using the tapestry needle, while older kids can cast on more stitches (for example 30), work more rows, or combine stitch patterns to increase challenge.
How can we extend or personalize the headband or scarf?
Personalize by combining your garter, stockinette, and ribbing swatches into a patchwork scarf, add stripes by changing yarn color every few rows, attach a button or pompom before stitching the headband ends, and then share a photo and short note on DIY.org.
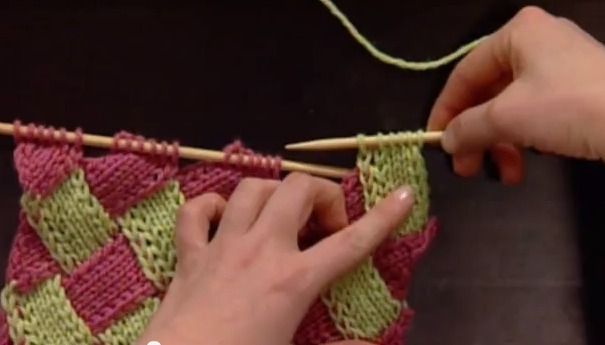
Watch videos on how to learn and practice basic knitting styles
How to Knit // The Knit Stitch for Kids // Left-handed Tutorial
4 Videos
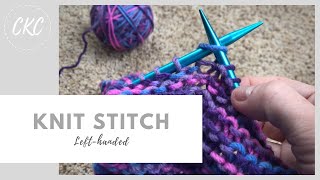
How to Knit // The Knit Stitch for Kids // Left-handed Tutorial
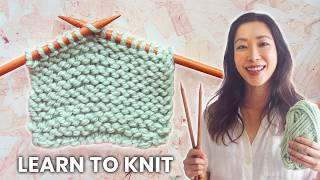
HOW TO KNIT for TOTAL BEGINNERS: STEP-BY-STEP Tutorial (SLOW REPEATS & common MISTAKES)
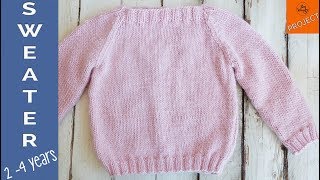
How to knit a Sweater for Children aged 2-4 years, step by step
How to Knit // The Knit Stitch for Kids // Right-handed Tutorial
Facts about knitting basics for kids
🧶 All knitted fabrics are built from two basic actions — the knit stitch and the purl stitch — and mixing them makes garter, stockinette, and ribbing.
🌍 Knitting has been practiced worldwide for centuries; some of the earliest knitted items date back to medieval times.
🧠 Knitting helps fine motor skills, concentration, and can be calming — many people use it to relax and reduce stress.
🐑 Many yarns come from sheep's wool, but beginners often use soft acrylic or wool-acrylic blends that are easy to care for.
🧵 Scarves, headbands, and swatches are perfect starter projects because they're straight, forgiving, and show stitch patterns clearly.
How do I teach a child to learn garter, stockinette, and ribbing by making small scarves and headbands?
What materials do I need for child-friendly knitting projects like scarves, headbands, and swatches?
What ages are suitable for learning basic knitting styles and making small gifts?
What are the benefits, safety tips, and fun variations for kids learning knitting?


One subscription, many ways to play and learn.
Only $6.99 after trial. No credit card required