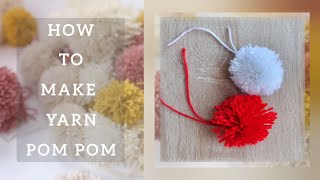
Make pom-poms
Make colorful yarn pom poms using cardboard or a fork, learn wrapping, tying, and trimming techniques, and decorate crafts or gifts safely.


Step-by-step guide to make pom-poms
Easy DIY Pompoms for Kids | Make Your Own Fluffy Toy
Step 1
Gather your materials and pick whether you will make pom-poms with a cardboard ring or with a fork.
Step 2
Prepare your tool by cutting two cardboard rings about 2 inches wide with a hole in the middle if you chose cardboard or by checking the fork is clean and steady if you chose a fork.
Step 3
Hold the end of the yarn against your tool and begin wrapping the yarn around the cardboard rings or around the middle of the fork.
Step 4
Continue wrapping the yarn evenly and tightly until the bundle looks thick and full.
Step 5
Cut a 6 inch piece of yarn and slide it between the two cardboard rings or under the wrapped yarn on the fork and tie it tightly around the middle with a double knot.
Step 6
Carefully remove the wrapped yarn from the fork or separate the two cardboard rings so the wrapped bundle comes free.
Step 7
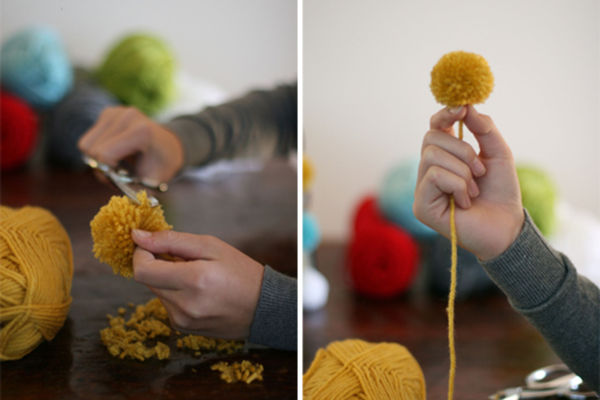
Use scissors to cut all the loops around the edge of the bundle so the pom-pom strands are loose.
Step 8
Fluff the strands with your fingers and trim any long or uneven pieces to make a nice round pom-pom.
Step 9
Tie a ribbon or string around the center knot to make a hanging loop or to attach it to a gift.
Step 10
Decorate your pom-pom by gluing or taping it onto a card or gift or by adding small glued decorations to the pom-pom.
Step 11
Put away leftover yarn and scissors and tidy your workspace.
Step 12
Share a photo of your finished pom-pom creation on DIY.org.
Help!?
What can we use instead of cardboard rings or a fork if we can't find them?
If you don't have a fork or thick cardboard for step 2, cut two rings from a toilet-paper roll or use a paper plate with the center hole cut out to wrap the yarn around.
Why does my pom-pom fall apart when I cut the loops, and how can I fix it?
If the yarn slips or your pom-pom falls apart when you cut the loops, make sure to hold the yarn tail against your tool (step 3), wrap tightly and evenly until the bundle is thick (step 4), and tie the 6-inch center piece with a secure double knot (step 5) before cutting loops (step 7).
How can I adapt this pom-pom activity for different age groups?
For preschoolers, have an adult pre-cut the cardboard rings and let them wrap chunky yarn around a fork (steps 2–4) while older kids can create multi-colored layered pom-poms, trim them into precise rounds (steps 7–8), and add glued decorations (step 10).
How can we make our pom-poms more special or use them in other projects?
To personalize and extend the activity, tie several finished pom-poms onto a ribbon to make a garland (step 9), glue sequins or felt shapes onto them (step 10), or photograph and share your creations on DIY.org (step 12).
Watch videos on how to make pom-poms
Easy Yarn Crafts for Kids: DIY Pom Poms
4 Videos
Easy Yarn Crafts for Kids: DIY Pom Poms
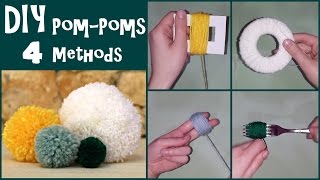
DIY Pom-Poms | 4 Easy Methods
How to Use Pom Pom Makers | Easy DIY Pom Pom Tutorial for Beginners
How to Make Pom Poms With Cardboard/ 2 Ways DIY/ Step by Step/ 5 Minutes Craft
Facts about yarn crafts for kids
🐑 Yarn can come from animal fibers (like wool), plant fibers (like cotton), or man-made fibers (like acrylic) — so you can make pom-poms from lots of materials!
🎀 Pom-poms have been used as decorative bits on hats, clothes, and uniforms in many cultures for centuries — they’re a tiny bit of fashion history!
🍴 You can make a quick mini pom-pom using just a fork, yarn, and scissors — perfect for fast, kid-friendly crafts.
✂️ How you tie and trim a pom-pom changes its personality — a tight center makes it fluffy, while careful trimming can make it round, flat, or shaggy.
🎁 Reusable yarn pom-poms are a playful, eco-friendly way to decorate gifts and crafts — they last way longer than paper bows.
How do you make yarn pom-poms with cardboard or a fork?
What materials do I need to make colorful yarn pom-poms?
What ages is this pom-pom activity suitable for?
What are safe decorating ideas and fun variations for yarn pom-poms?
