Weave
Make a small woven coaster using paper strips or yarn; practice over-under weaving patterns, measuring, and creating colorful designs with scissors and glue.

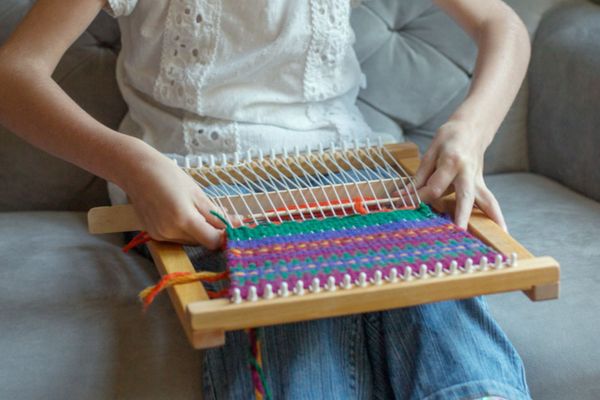

Step-by-step guide to make a small woven coaster
How to Weave for Beginners Step by Step | Art for Kids
Step 1
Gather all your materials and put them on a flat table so everything is easy to reach.
Step 2
Use the ruler and pencil to draw a 10 cm by 10 cm square on the scrap cardboard.
Step 3
Cut out the 10 cm cardboard square carefully with scissors.
Step 4
Cut six strips from the colored paper that are 1.5 cm wide and 12 cm long.
Step 5
Lay the six paper strips vertically on the cardboard square with even spaces between them and the top edges lined up.
Step 6
Glue the top edge of each vertical strip to the cardboard to hold them in place.
Step 7
Cut six more strips of the same size (1.5 cm by 12 cm) for weaving across.
Step 8
Weave each horizontal strip across the vertical strips using an over then under pattern and start the next row by switching the pattern.
Step 9
Trim any strip ends that stick past the cardboard so they are flush with the coaster edges.
Step 10
Fold the trimmed ends under the cardboard to hide them from the top.
Step 11
Glue the folded ends to the underside of the cardboard to secure the weave.
Step 12
Press the woven coaster flat and let the glue dry completely.
Step 13
Take a photo and share your finished woven coaster on DIY.org
Help!?
What can we use if we don't have scrap cardboard, a ruler, or colored paper for this 10 cm by 10 cm weaving coaster?
Use a flattened cereal or shipping box cut to a 10 cm square instead of scrap cardboard, a straight-edged book or the edge of a cutting mat instead of a ruler, and magazine pages, plain paper colored with crayons, or gift wrap in place of colored paper.
What should we do if the vertical strips slip or the weave becomes uneven when we 'lay the six paper strips vertically' and 'weave each horizontal strip'?
If strips slide or rows go uneven, hold or clamp the glued top edges with small clothespins or paper clips until the glue sets, mark the over/under pattern with a pencil before weaving, and press the finished coaster flat under a heavy book while the glue dries.
How can we adapt the activity for younger children or make it more challenging for older kids while following the same cutting, gluing, and weaving steps?
For younger children use a pre-cut 10 cm cardboard square, wider 2.5 cm paper strips, blunt safety scissors and a glue stick with adult help, while older kids can cut thinner strips (about 1 cm), experiment with checkerboard or diagonal patterns when they 'weave each horizontal strip', or make larger coasters.
What are some ways to extend or personalize the woven coaster after we 'trim any strip ends' and 'glue the folded ends to the underside'?
After gluing and pressing flat, personalize by painting the cardboard edges, adding a thin coat of clear sealant or clear packing tape for durability, weaving in ribbon or small beads for texture, or making a matching set of coasters to photograph and share on DIY.org.
Watch videos on how to make a small woven coaster
Yarn weaving 101 - BASICS for kids
4 Videos
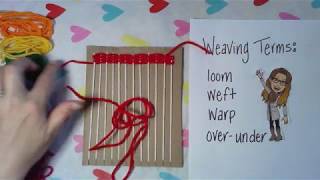
Yarn weaving 101 - BASICS for kids
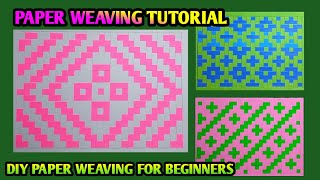
A Complete Guide to Simple Paper Weaving | Learn the Basics with This Paper Weaving Tutorial
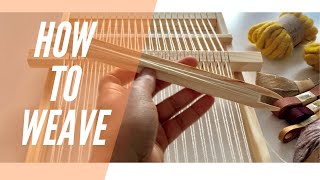
How to Weave | Weaving for Beginners
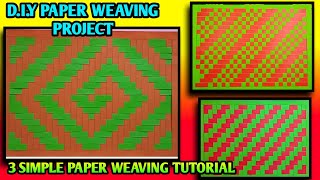
Paper Weaving for Kids DIY Guide | Learn Weaving with Paper Strips in Simple Steps
Facts about weaving for kids
🧶 Weaving is one of the world’s oldest crafts — archaeologists have found woven textiles more than 7,000 years old.
✂️ The simplest weave, the over-under pattern (plain weave), is the same basic idea kids use to make coasters.
🌈 Arranging different colored strips creates patterns like stripes, checks, and plaids without any fancy tools.
📏 Cutting strips to the same width and measuring spacing helps your coaster stay flat and even.
🧺 Around the world, weaving is used for cloth, baskets, mats, and colorful decorative pieces — it’s super versatile!
How do I make a small woven coaster using paper strips or yarn?
What materials do I need to make a woven coaster with paper strips or yarn?
What ages is this weaving activity suitable for?
What are the benefits and safety tips for making woven coasters, and are there variations?
