Make a ring from a coin
Make a wearable ring by shaping a soft coin around a dowel with pliers, smoothing edges, and decorating, all with adult supervision.

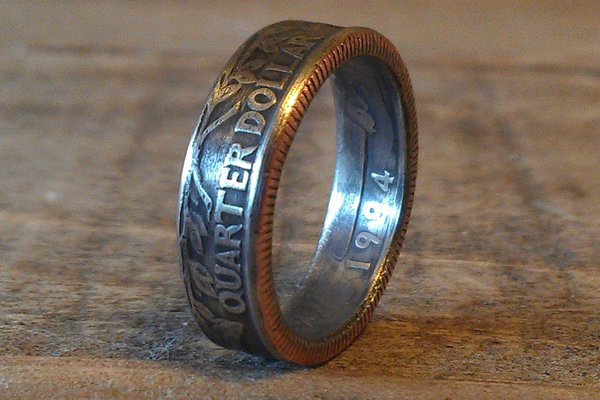

Step-by-step guide to make a ring from a coin
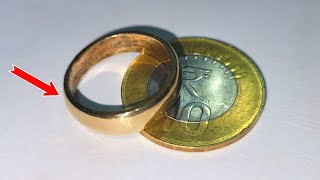
I Made a Copper Ring from a Two Pence Coin - Step by Step Coin Ring Making
Step 1
Ask an adult to supervise and help set up a safe workspace.
Step 2
Pick a soft metal coin and place it flat on your workspace.
Step 3
Slide the coin onto the wooden dowel to check the finger size you want.
Step 4
Mark the dowel at the coin edge with a marker so you know where to wrap.
Step 5
Use the needle-nose pliers to pinch a small section of the coin and bend that section over the dowel.
Step 6
Keep bending the coin a little at a time around the dowel until it curves into a ring shape.
Step 7
Slide the partially formed ring off the dowel carefully.
Step 8
Use the pliers to gently squeeze the ring ends together so the ring closes to the size you marked.
Step 9
Smooth any sharp or rough edges by filing or sanding the inside and outside edges.
Step 10
Buff the ring with a polishing cloth until it shines.
Step 11
Decorate the outside of the ring using markers or paint to make it your own.
Step 12
Ask the adult to help adjust the fit with pliers if needed and try on your ring to check comfort.
Step 13
Share a photo and story about your finished coin ring on DIY.org.
Help!?
What can we use if we don't have a wooden dowel or needle-nose pliers?
Use a rounded permanent marker (wrapped with tape) or a thick wooden paint stick as the dowel to slide the coin onto for sizing, and substitute small locking pliers or jewelry pliers for the needle-nose pliers when you pinch and bend the coin, with an adult supervising.
The coin won't bend or it cracks—what should we do?
If the coin resists bending or cracks while you keep bending a little at a time, stop and try a softer metal coin or have the adult use a larger pair of pliers and bend in smaller increments, then smooth any rough edges with the file or sandpaper before continuing.
How can we adapt the steps for different ages?
For younger kids have the adult handle the pinch-and-bend steps while the child picks the coin, marks the dowel, and decorates with markers or paint, and for older kids let them perform the dowel sizing, gradual bending with pliers, filing, and polishing under supervision.
How can we make the finished ring more special or personalized?
After you buff the ring with the polishing cloth and smooth the edges, personalize it by painting patterns with markers, wrapping thin colored wire around the outside, or gluing on a small flat-backed gem and sealing with a clear coat.
Watch videos on how to make a ring from a coin
How to make a coin ring with ! Coin ring making ! Handmade coin jewellery
4 Videos
How to make a coin ring with ! Coin ring making ! Handmade coin jewellery
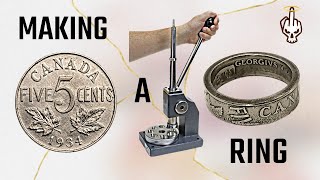
Making a Small Coin Ring from a Canadian 5 Cents Coin
How To Make A Ring From A Token: DIY coin rings
10 🪙 Coin ring making ! How to make a coin ring ! Handmade jeweller
Facts about metalworking and jewelry making for kids
🪙 Many coin rings are made from soft metal coins like copper or silver — they bend more easily than harder alloys.
🔥 Metalsmiths often 'anneal' metal (heat it) to soften coins before shaping, which makes the job much easier.
🛠️ Simple tools — a wooden dowel, pliers, and a file — are all you need to turn a coin into a wearable ring with adult help.
🎨 After shaping, coin rings can be decorated by engraving, adding patina (color), or gluing tiny gems for a personal touch.
🌍 Turning coins into jewelry is a traditional craft in many cultures, turning money into keepsakes and art.
How do you make a wearable ring from a coin?
What materials do I need to make a coin ring?
What ages is a coin-ring craft suitable for?
What are the benefits and safety tips for making coin rings?
