Make a clasp
Make a simple jewelry clasp using beads, pipe cleaners, and ribbon; attach it to a bracelet or necklace to practice fine motor skills.


Step-by-step guide to make a jewelry clasp
Make a beaded bracelet with a clasp - jewelry making tutorial
Step 1
Lay out all your materials on a flat table so you can see everything.
Step 2
Wrap the ribbon around your wrist or neck to check the length you like.
Step 3
Pinch the ribbon where the ends meet to mark the spot to cut.
Step 4
Cut the ribbon at the pinched spot leaving about 5 cm extra for fastening.
Step 5
Bend one pipe cleaner into a small closed loop with a short tail to make the loop end.
Step 6
Thread one ribbon end through the pipe cleaner loop.
Step 7
Wrap the pipe cleaner tail around the ribbon end twice to hold it firmly.
Step 8
Slide one or two beads over the wrapped area to cover the pipe cleaner tail.
Step 9
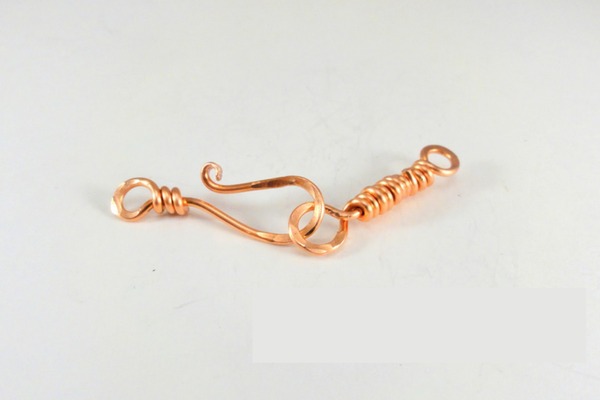
Bend a second pipe cleaner into a small C-shaped hook with a short tail to make the hook end.
Step 10
Thread the other ribbon end through the open side of the C-shaped hook.
Step 11
Wrap the second pipe cleaner tail around that ribbon end twice to secure it.
Step 12
Slide beads over the second wrapped area to hide the pipe cleaner tail.
Step 13
Trim any extra pipe cleaner tails with scissors so they are neat.
Step 14
Tuck the trimmed pipe cleaner ends into the beads so they do not poke.
Step 15
Share your finished clasp and bracelet or necklace on DIY.org.
Help!?
What can we use if pipe cleaners or small beads are hard to find?
If you don't have pipe cleaners or small beads, use a short length of thin floral wire or a folded paperclip to make the loop and C-shaped hook and cover the wrapped area with a large bead, button, or a dab of clear craft glue as you would in steps 5–7 and 8–10.
My beads won't cover the pipe cleaner tails or the tails poke out—how do I fix that?
Tighten the wrapping by winding the pipe cleaner tail more firmly around the ribbon end (steps 6 and 10), trim extra tail with scissors (step 11), then tuck the trimmed ends into the bead (step 12) or add a drop of clear glue to hold them in place.
How can I change this activity for younger kids or make it more challenging for older kids?
For younger children, pre-cut the ribbon to the checked length and give them large beads and pre-bent pipe cleaner shapes to thread while an adult does the cutting and tight wrapping in steps 2–6, and for older kids, use jewelry wire instead of pipe cleaners, add multiple strands, or use crimp beads for a stronger clasp during steps 5–10.
What are some fun ways to personalize or strengthen the finished clasp and necklace or bracelet?
Personalize by choosing patterned ribbons, creating bead color sequences before sliding them over the wrapped areas (steps 7 and 10), add small charms between beads for decoration, or replace pipe cleaners with thin jewelry wire and crimp beads to strengthen the clasp, then share your finished clasp and bracelet or necklace on DIY.org (final step).
Watch videos on how to make a jewelry clasp
Easy Daisy Flower Beaded DIY Bracelet Tutorial
4 Videos
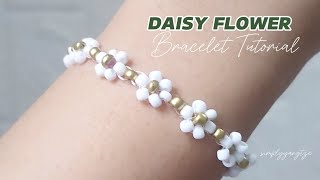
Easy Daisy Flower Beaded DIY Bracelet Tutorial

How to Make a Clasp Box for Your Bracelets (Jewelry DIY)
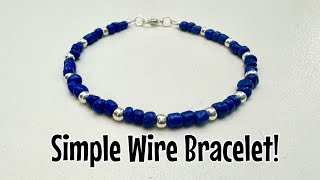
How to make a simple beaded wire bracelet - lobster clasp + crimp beads
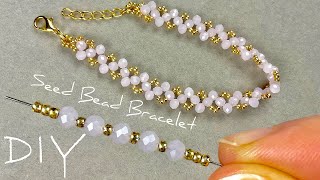
Easy and Beautiful Bracelet Making: Jewelry Making Tutorials with Beads and Crystals
Facts about jewelry making for kids
🧶 Pipe cleaners are thin, flexible wires wrapped in fuzzy fibers — they bend easily for shapes and can be reused across many craft projects.
🔗 Clasps come in many styles — lobster, toggle, spring ring, and magnetic — each fastening differently to keep bracelets and necklaces secure.
🎨 Seed beads are sized by numbers (for example 6/0 vs 11/0); 11/0 beads are tiny (around 2 mm) and great for detailed patterns.
🧠 Threading beads and manipulating small ribbons or pipe cleaners strengthens fine motor skills, hand–eye coordination, and the pincer grasp.
🌍 Beadwork is a global craft used for decoration and storytelling — ancient cultures like the Egyptians made bead jewelry thousands of years ago.
How do I make a simple jewelry clasp using beads, pipe cleaners, and ribbon?
What materials do I need to make a pipe-cleaner bead clasp for a bracelet or necklace?
What ages is this clasp-making activity suitable for?
What are the benefits and safety tips for kids making jewelry clasps, and any easy variations?
