Make DIY Earrings!
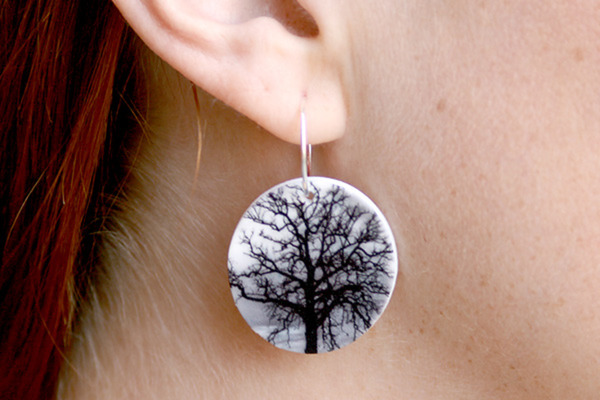
Make colorful DIY earrings using beads, charms, and safe earring hooks. Practice pattern design, fine motor skills, and adult supervised tool use.


Step-by-step guide to make DIY earrings
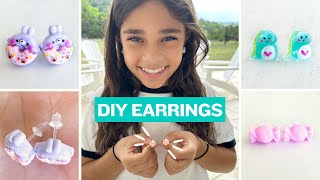
10 DIY Earring Designs for Girls Jewelry Making Compilation | 10 Handmade Earrings with Wire & Beads
Step 1
Lay the towel or mat on a table and put the small tray or bowl on it to keep beads from rolling away.
Step 2
Pick a pair of earring hooks you want to use for your earrings.
Step 3
Choose the beads and charms you like for your design and put them in the tray.
Step 4
Lay out the beads and charms in a matching order for both earrings so you have a clear pattern.
Step 5
Slide the beads and charm onto a headpin in the order from your layout until about 1 cm of wire is left above the beads.
Step 6
With adult help use the round-nose pliers to bend the remaining wire into a tight loop at the top of the beads.
Step 7
With adult help trim any extra wire close to the loop using the wire cutters so the loop is neat.
Step 8
With adult help open the small loop on one earring hook a little using the pliers.
Step 9
Slip the bead loop onto the open earring hook loop so the bead dangles from the hook.
Step 10
With adult help close the earring hook loop completely with the pliers so the bead is secured.
Step 11
Repeat Steps 5 to 10 exactly to make the second earring so both match.
Step 12
Gently tug each connection to make sure the loops are closed and everything is secure.
Step 13
Put tools and leftover beads back in their places and wipe your workspace clean.
Step 14
Share photos of your finished DIY earrings and tell the story of your design on DIY.org
Help!?
What can we use if we don't have headpins, round-nose pliers, or earring hooks?
If you don't have headpins or round-nose pliers, use eye pins or short pieces of craft wire and bend loops around a thin paintbrush handle with needle-nose pliers, and if you lack earring hooks use clip-on findings or small safety‑pin style earring blanks for Step 8.
My loops keep opening or beads fall off after I finish—what should I do?
If loops open or beads fall off after Steps 6–10, re-bend the loop tightly with round-nose pliers, trim any extra wire close to the loop with wire cutters as in Step 7, and gently tug each connection as in Step 11 to make sure everything is secure.
How can I adapt this activity for different ages?
For preschoolers, use large beads and have an adult do Steps 5–10, for elementary kids let them thread beads and practice matching in Step 4 while an adult helps with pliers, and for tweens/teens encourage independent use of the round-nose pliers and wire cutters to master the loop technique.
How can we make these earrings more special or extend the activity?
To personalize and extend the project, make custom polymer-clay beads to include in Step 3, add colorful wire wrapping before making the loop in Step 5, or use the same bead pattern from Step 4 to create matching necklaces or bracelets to share on DIY.org.
Watch videos on how to make DIY earrings
Beginner Polymer Clay Earring Tutorial | easy step by step | simple instructions | diy earrings
4 Videos

Beginner Polymer Clay Earring Tutorial | easy step by step | simple instructions | diy earrings
DIY Earrings | How to Make Your Own Stud Earrings | DIY Plastic Earrings

5 Easy Stud Earring Designs You Can Make at Home | DIY Jewelry Ideas
DIY 5-Minute Earrings: Quick & Easy Tutorial
Facts about jewelry making for kids
🎨 Patterns with beads often use repeating sequences (like ABAB or ABC) — a fun way to practice math and design.
🧩 Seed beads can be incredibly tiny (sizes like 11/0 or 15/0), letting kids make very detailed and delicate patterns.
🦻 Earring hooks are commonly made from materials like sterling silver or surgical steel to lower the chance of allergic reactions.
✋ Stringing and handling small beads boosts fine motor skills and hand-eye coordination—therapists even use beads in exercises.
⚠️ Always use child-safe earring hooks and adult supervision when working with small parts and pliers to prevent choking or injury.
How do you make colorful DIY earrings using beads, charms, and safe earring hooks?
What materials do I need to make DIY earrings with beads and charms?
What ages are DIY beaded earrings suitable for?
What are the benefits and safety tips for making DIY earrings?
