Draw custom jewelry designs
Draw and design custom jewelry pieces using sketches, color swatches, templates, and simple measurements to explore shape, pattern, and personal style.


Step-by-step guide to draw custom jewelry designs
How to Draw Jewelry | Easy Drawing Tutorial for Kids
Step 1
Gather all the Materials Needed and find a clear table to work on.
Step 2
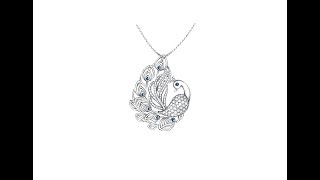
Decide which jewelry piece you will design such as a ring bracelet necklace or pair of earrings.
Step 3
Measure the area where the jewelry will be worn using the ruler and write the measurement down.
Step 4
Make simple shape templates by tracing round objects onto scrap paper.
Step 5
Arrange the paper templates on your main paper until you like the layout.
Step 6
Lightly sketch the outlines of each jewelry piece on the main paper using the templates and ruler.
Step 7
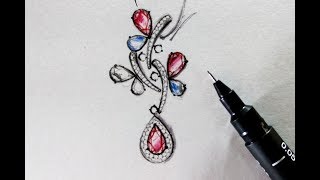
Add patterns and details like gem settings clasps chains or texture marks inside your outlines.
Step 8
Make small color swatches in a corner of the paper to test colors.
Step 9
Choose the swatches you like best to be your color palette.
Step 10
Color your jewelry design using the chosen swatches.
Step 11
Carefully outline the colored shapes with the thin black marker to make them stand out.
Step 12
Add shading with your pencil to show light and shadow and make pieces look 3D.
Step 13
Write measurements and suggested materials next to each piece (for example 6 cm gold chain or 8 mm stone).
Step 14
Give your design a name and write one short line about your personal style choice.
Step 15
Share your finished creation on DIY.org
Help!?
What can we use instead if we don't have a thin black marker or special art paper?
If you don't have a thin black marker or the main paper, outline colored shapes with a fine-tip black pen or sharpened dark pencil and use sturdy cardboard or the back of a cereal box as your main paper for the layout and coloring steps.
My templates keep moving while I try to trace them—how can I fix that?
If your scrap paper templates shift when arranging or tracing, secure each template to the clear table or main paper with small pieces of tape or binder clips before you lightly sketch the outlines with the ruler and pencil.
How can I adapt this activity for different ages or skill levels?
For younger children, use large pre-cut scrap paper templates and washable markers and skip precise ruler measurements, while older kids can follow all steps including measuring with a ruler, adding pencil shading for 3D, and writing measurements and suggested materials.
How can we extend or make the jewelry designs more realistic or personal?
Turn designs into prototypes by cutting traced templates from cardboard, attaching actual chains or beads that match the 'suggested materials' notes, add metallic accents with foil or gel pens from your color swatches, and photograph the finished piece to share on DIY.org.
Watch videos on how to draw custom jewelry designs
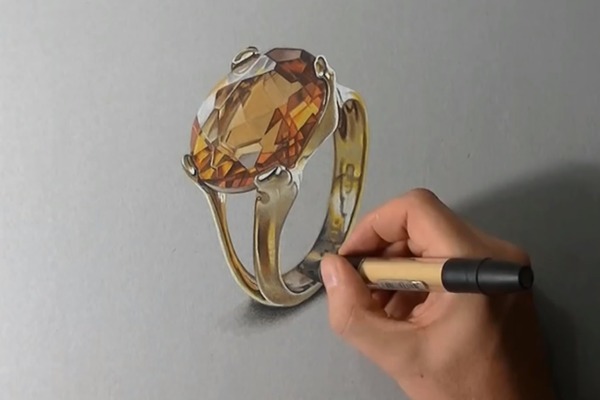
How to draw unique ring : Jewelry sketching for beginners in step by step
4 Videos
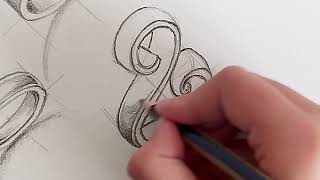
How to draw unique ring : Jewelry sketching for beginners in step by step
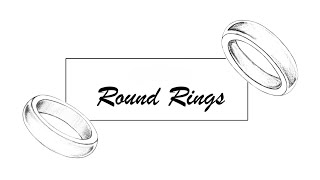
How to draw round rings : simple jewelry sketching exercices for beginners
How to Draw jewelry Designs Basic Concepts by Art Jewellery Design YouTube.
How to draw jewellery designs on paper step by step on youtube by ultimate tutorial
Facts about jewelry design for kids
🖊️ Many jewelry designers begin with quick thumbnail sketches—some take under 2 minutes to explore a shape idea.
🎨 Color swatches are powerful: humans can distinguish roughly one million different color shades, so small hue shifts matter.
📏 Tiny measurement changes matter: a 1 mm difference can make a necklace or ring feel noticeably tighter or looser.
💎 There are over 120 minerals used as gemstones, but diamonds, sapphires and rubies remain the most famous.
✨ Famous houses like Cartier and Tiffany started as small workshops before growing into worldwide icons.
How do you draw and design custom jewelry pieces?
What materials do I need for drawing custom jewelry designs?
What ages is this jewelry-design activity suitable for?
What are the benefits of drawing custom jewelry designs?
