Transform junk to jewelry
Make wearable jewelry from recycled junk like bottle caps, buttons, beads, and wire, learning creativity, safe tool use, and crafting techniques.


Step-by-step guide to make wearable jewelry from recycled junk
13 Uncommon DIY Jewelry Ideas - Beginner Friendly - Upcycled Crafts
Step 1
Gather all your chosen recycled pieces and tools on a table so everything is easy to reach.
Step 2
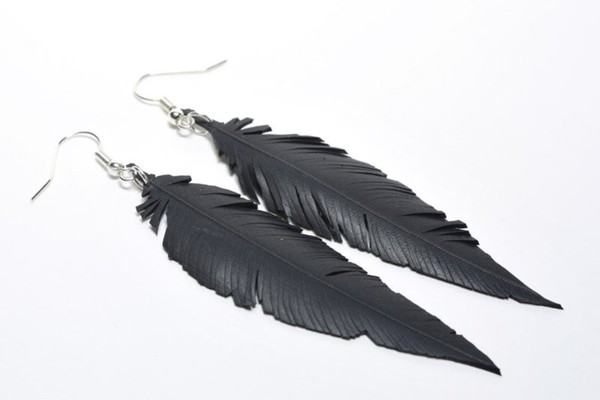
Decide whether you will make a bracelet necklace or a pair of earrings.
Step 3
Put down a towel or newspaper to protect your work surface.
Step 4
Clean any bottles caps or plastic pieces with a damp cloth and dry them.
Step 5
With adult help, make a small hole in each bottle cap where you want to attach wire or cord.
Step 6
Arrange your buttons beads and charms in a order you like on the table to plan your design.
Step 7
Thread beads buttons and small charms onto the wire or elastic cord following your design.
Step 8
Attach a bottle cap or larger focal piece by looping wire through its hole or gluing it onto a base piece.
Step 9
Secure the ends by twisting the wire tightly or tying strong knots in the elastic cord.
Step 10
Trim any extra wire or cord ends neatly with safety scissors or pliers.
Step 11
Decorate pieces with colouring materials or extra glue-on bits to make them pop.
Step 12
Try on your jewelry and make any small adjustments so it fits comfortably.
Step 13
Share a photo of your finished recycled jewelry and a short description on DIY.org
Help!?
What can we use instead of jewelry wire if it's hard to find?
Use strong elastic cord for threading beads and tying secure knots for bracelets or necklaces, or doubled fishing line or floral wire to loop through bottle cap holes as in the attach-the-cap step.
What should we do if bottle caps crack or the hole won't go through when making holes?
If a cap cracks while making a hole, stop and either glue the bottle cap onto a base piece as the instructions suggest or, with adult help, make a smaller pilot hole with a nail and reinforce the edge with glue before threading wire or cord.
How can we adapt this activity for younger children or make it more challenging for older kids?
For younger kids, pre-clean pieces, pre-make holes, provide large beads and elastic cord to thread and tie simple knots, while older kids can use pliers to twist wire, create more intricate designs with small charms and metal findings, and make their own holes with adult supervision.
How can we enhance or personalize the recycled jewelry beyond the basic steps?
Personalize pieces by painting bottle caps, gluing on sequins, fabric scraps, or letter beads from the decorate step, seal decorations with clear glue or varnish for durability, and photograph the finished jewelry to share on DIY.org.
Watch videos on how to make wearable jewelry from recycled junk
DIY Jewelry Makeover: Turn Your Old Pieces Into New Treasures!
4 Videos
DIY Jewelry Makeover: Turn Your Old Pieces Into New Treasures!

Upcycled Jewelry Tutorial - Make Jewelry from Aluminum Soda and Beer Cans

How to make recycled metal earrings from tin cans - no expensive jewelry making tools required

How to Make a DIY Junk Charm Bracelet | Easy Jewelry Tutorial
Facts about upcycling and recycled crafts for kids
♻️ Upcycling means turning trash into treasure—many artists make higher-value jewelry from things people would throw away.
🌎 Humans produce hundreds of millions of tons of plastic and metal waste each year, so small recycled projects can help reduce landfill.
🔩 The crown cork (bottle cap) was invented in 1892 by William Painter and later became a popular item for crafts and jewelry.
🧵 Decorative buttons have been used for thousands of years; ornamental buttons were found in the Indus Valley around 2000 BCE.
✨ Wire wrapping is one of the oldest jewelry techniques—ancient cultures like the Egyptians used it to make rings and amulets without soldering.
How do you make wearable jewelry from recycled junk like bottle caps, buttons, beads, and wire?
What materials and tools do I need to transform junk into jewelry?
What ages is transforming junk into jewelry suitable for?
What safety tips should I follow when kids make jewelry from recycled junk?
