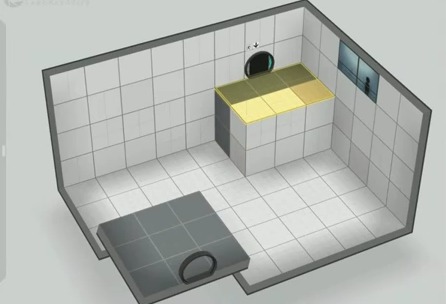
Design a game level with an in-game editor
Use an in-game level editor to design, test, and play a simple platformer level with blocks, obstacles, enemies, and a winning goal.


Step-by-step guide to design a game level with an in-game editor
How to make a Level Editor in Unity
Step 1
Open the game and choose the Level Editor from the main menu.
Step 2
Pick a fun theme for your level like jungle space or castle.
Step 3
Sketch a simple layout on your paper showing where platforms and the goal will go.
Step 4
Set the level size or dimensions inside the level editor.
Step 5
Place ground and platform blocks to build the main path.
Step 6
Add a gap or a spike obstacle for a challenge.
Step 7
Place one enemy in the level where it will be tricky but fair.
Step 8
Place a clear winning goal like a flag or a door at the end.
Step 9
Add a few collectibles to guide the player along the path.
Step 10
Playtest the level by pressing Play and try to reach the goal.
Step 11
Fix one problem you found during playtesting by moving or editing a block or enemy.
Step 12
Save your level in the editor.
Step 13
Give your level a fun name in the save dialog.
Step 14
Share your finished level on DIY.org.
Help!?
What can we use instead of paper, spike obstacles, or DIY.org if those are hard to get?
If you don't have paper sketch the layout on a tablet or whiteboard, replace a spike obstacle by creating a deep gap or a falling block in the Level Editor, and if DIY.org isn't available export or screenshot your saved level and share it by email or a classroom drive.
My player keeps getting stuck and can't reach the goal during Playtest—what should I check first?
During Playtest check that ground and platform blocks form a continuous fair path, move or lower any too-high platforms or reposition the enemy as described in the 'Fix one problem you found during playtesting' step so the goal becomes reachable.
How can I change the activity for younger or older kids?
For younger kids set a smaller level size, use larger platform blocks, fewer enemies and help with the Save and Share steps, while older kids can design bigger levels, add more collectibles and tricky enemy placement and refine the sketch before building.
How can we make the level more interesting after finishing the basic steps?
Enhance your level by adding moving platforms or hidden collectibles to guide the player, creating a custom theme art or sound, testing changes with Play, then give it a creative name and resave before sharing on DIY.org.
Watch videos on how to design a game level with an in-game editor
Godot In-Game Level Editor (part 1) the setup and placing object
4 Videos
Godot In-Game Level Editor (part 1) the setup and placing object
Code a LEVEL EDITOR in Scratch | RPG Tutorial #4
![Make your own game: Level design and game map demo [Julian's Editor]](https://img.youtube.com/vi/rLvfLZcurkc/mqdefault.jpg)
Make your own game: Level design and game map demo [Julian's Editor]
The Fastest Way to Design Levels in Unity 6? (Pro Builder Explained)
Facts about game level design for kids
🎮 Super Mario Maker lets players build, test, and share their own platforming levels — a famous in-game editor example.
🧱 Classic platformer tiles are often 16×16 or 32×32 pixels so levels snap together neatly on a grid.
👾 Many enemies use simple patterns (patrol, chase, jump) which makes them easy to design and predict.
🧪 Playtesting is huge — designers often try a level dozens of times to balance fun and difficulty.
⏱️ Speedrunners find clever tricks and shortcuts in levels that sometimes even surprise their creators.
How do I design a platformer level using an in-game editor?
What materials and tools do I need to design a level with an in-game editor?
What ages is designing a level with an in-game editor suitable for?
What are the benefits, safety tips, or fun variations for this activity?
