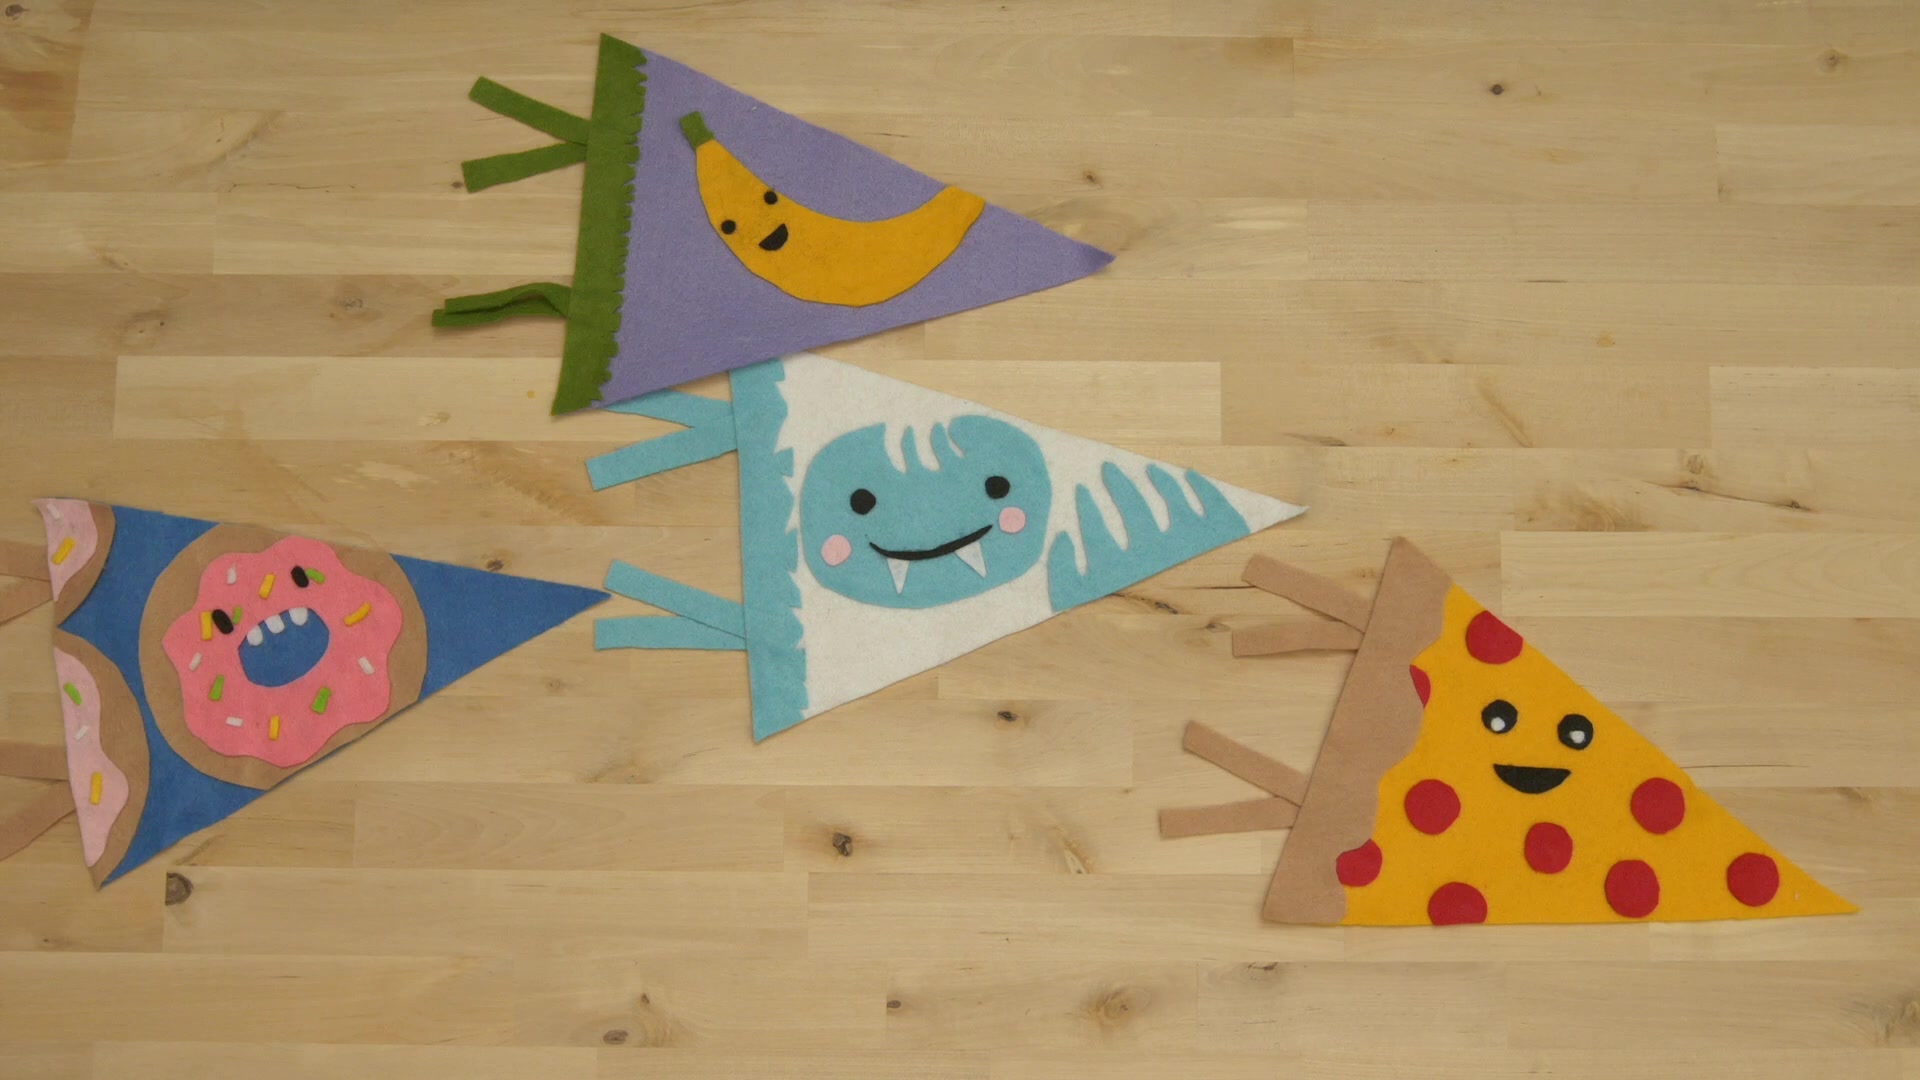
Make a pennant
Make a colorful paper or fabric pennant using scissors, glue, string, and decorations; practice measuring, cutting straight lines, and attaching a cord for hanging.


Step-by-step guide to make a pennant
Step 1
Gather all the materials on a clear work surface so everything is ready to use.
Step 2
Choose whether to make your pennant from paper or fabric and pick one rectangle about 8 inches by 12 inches.
Step 3
Use the ruler and pencil to measure and mark the top left corner top right corner and the center point of the bottom edge.
Step 4
Draw straight diagonal lines with the ruler connecting each top corner to the bottom center mark to outline a triangle.
Step 5
Cut along the drawn lines with scissors to make a neat triangular pennant shape.
Step 6
Fold the top edge down about 1 inch to create a sleeve for the string.
Step 7
Apply glue or tape along the folded edge to secure the sleeve so the string can slide through.
Step 8
Thread the string through the sleeve so it runs along the top of the pennant.
Step 9
Tie the two ends of the string together or make loops to create a hanger for your pennant.
Step 10
Decorate the front of your pennant using coloring materials stickers sequins or other decorations.
Step 11
Let any glue paint or wet decorations dry completely before moving the pennant.
Step 12
Share a photo of your finished pennant on DIY.org so others can see your colorful creation.
Help!?
What can we use instead of fabric, a ruler, or string if we don't have them?
If you don't have fabric, use heavyweight paper or a cereal-box cardboard for the 8×12 rectangle, use the straight edge of a book or a tape measure to draw the diagonal lines instead of a ruler, and substitute yarn, ribbon, or a shoelace for the string to thread through the folded sleeve.
My folded top sleeve won't hold the string and it keeps slipping out—what should I try?
If the 1-inch folded sleeve won't hold the string, press the glue firmly, clamp the fold with clothespins or heavy books while it dries, reinforce with tape along the folded edge, or sew a few stitches through the sleeve to secure it.
How can I adapt this pennant project for younger or older children?
For preschoolers, pre-measure and pre-cut the triangle and pre-fold the sleeve so they can safely decorate with stickers and washable markers, while older kids can measure the 8×12 rectangle, draw and cut the diagonal lines themselves and add sewing or grommets for a professional finish.
How can we extend or personalize the pennant beyond simple decorating?
Personalize and extend the project by stenciling names or shapes with paint, gluing sequins or fringe, adding a fabric backing and topstitching the sleeve for strength, or make a banner by repeating the steps and threading multiple pennants onto one long string.
Watch videos on how to make a pennant
DIY: How to make an EASY Paper Pennant Banner FREE PATTERNS hipknitized.com
4 Videos
DIY: How to make an EASY Paper Pennant Banner FREE PATTERNS hipknitized.com
Easy Pennant Banner: How to Cut 8 Pennants from one 12x12 paper
Pennant Flags - How to Make a Custom Pennant Flag

How to Make a Pennant Banner
Facts about paper and fabric crafts for kids
🎌 Pennants are triangular flags often used by ships and sports teams to show identity or celebrate victories — they make great handmade banners!
🎉 The word "bunting" originally referred to a lightweight wool cloth used for making flags and festive streamers at celebrations.
✂️ Scissors are ancient — versions of them date back to around 1500 BCE in Egypt, and people have been cutting cloth and paper for thousands of years.
📏 A standard school ruler is 30 cm (12 inches), which is perfect for measuring and drawing straight lines for your pennant patterns.
🪡 Sewing is one of the oldest crafts: archaeologists have found bone needles and evidence of stitching from tens of thousands of years ago.
How do you make a colorful paper or fabric pennant?
What materials do I need to make a pennant?
What ages is making a pennant suitable for?
What are the benefits and safe variations of pennant making?
