Light a venue
Design and build a safe lighting setup using battery LED lights, colored cellophane filters, and dimmers to illuminate a small stage or puppet show.


Step-by-step guide to design and build a safe lighting setup for a small stage or puppet show
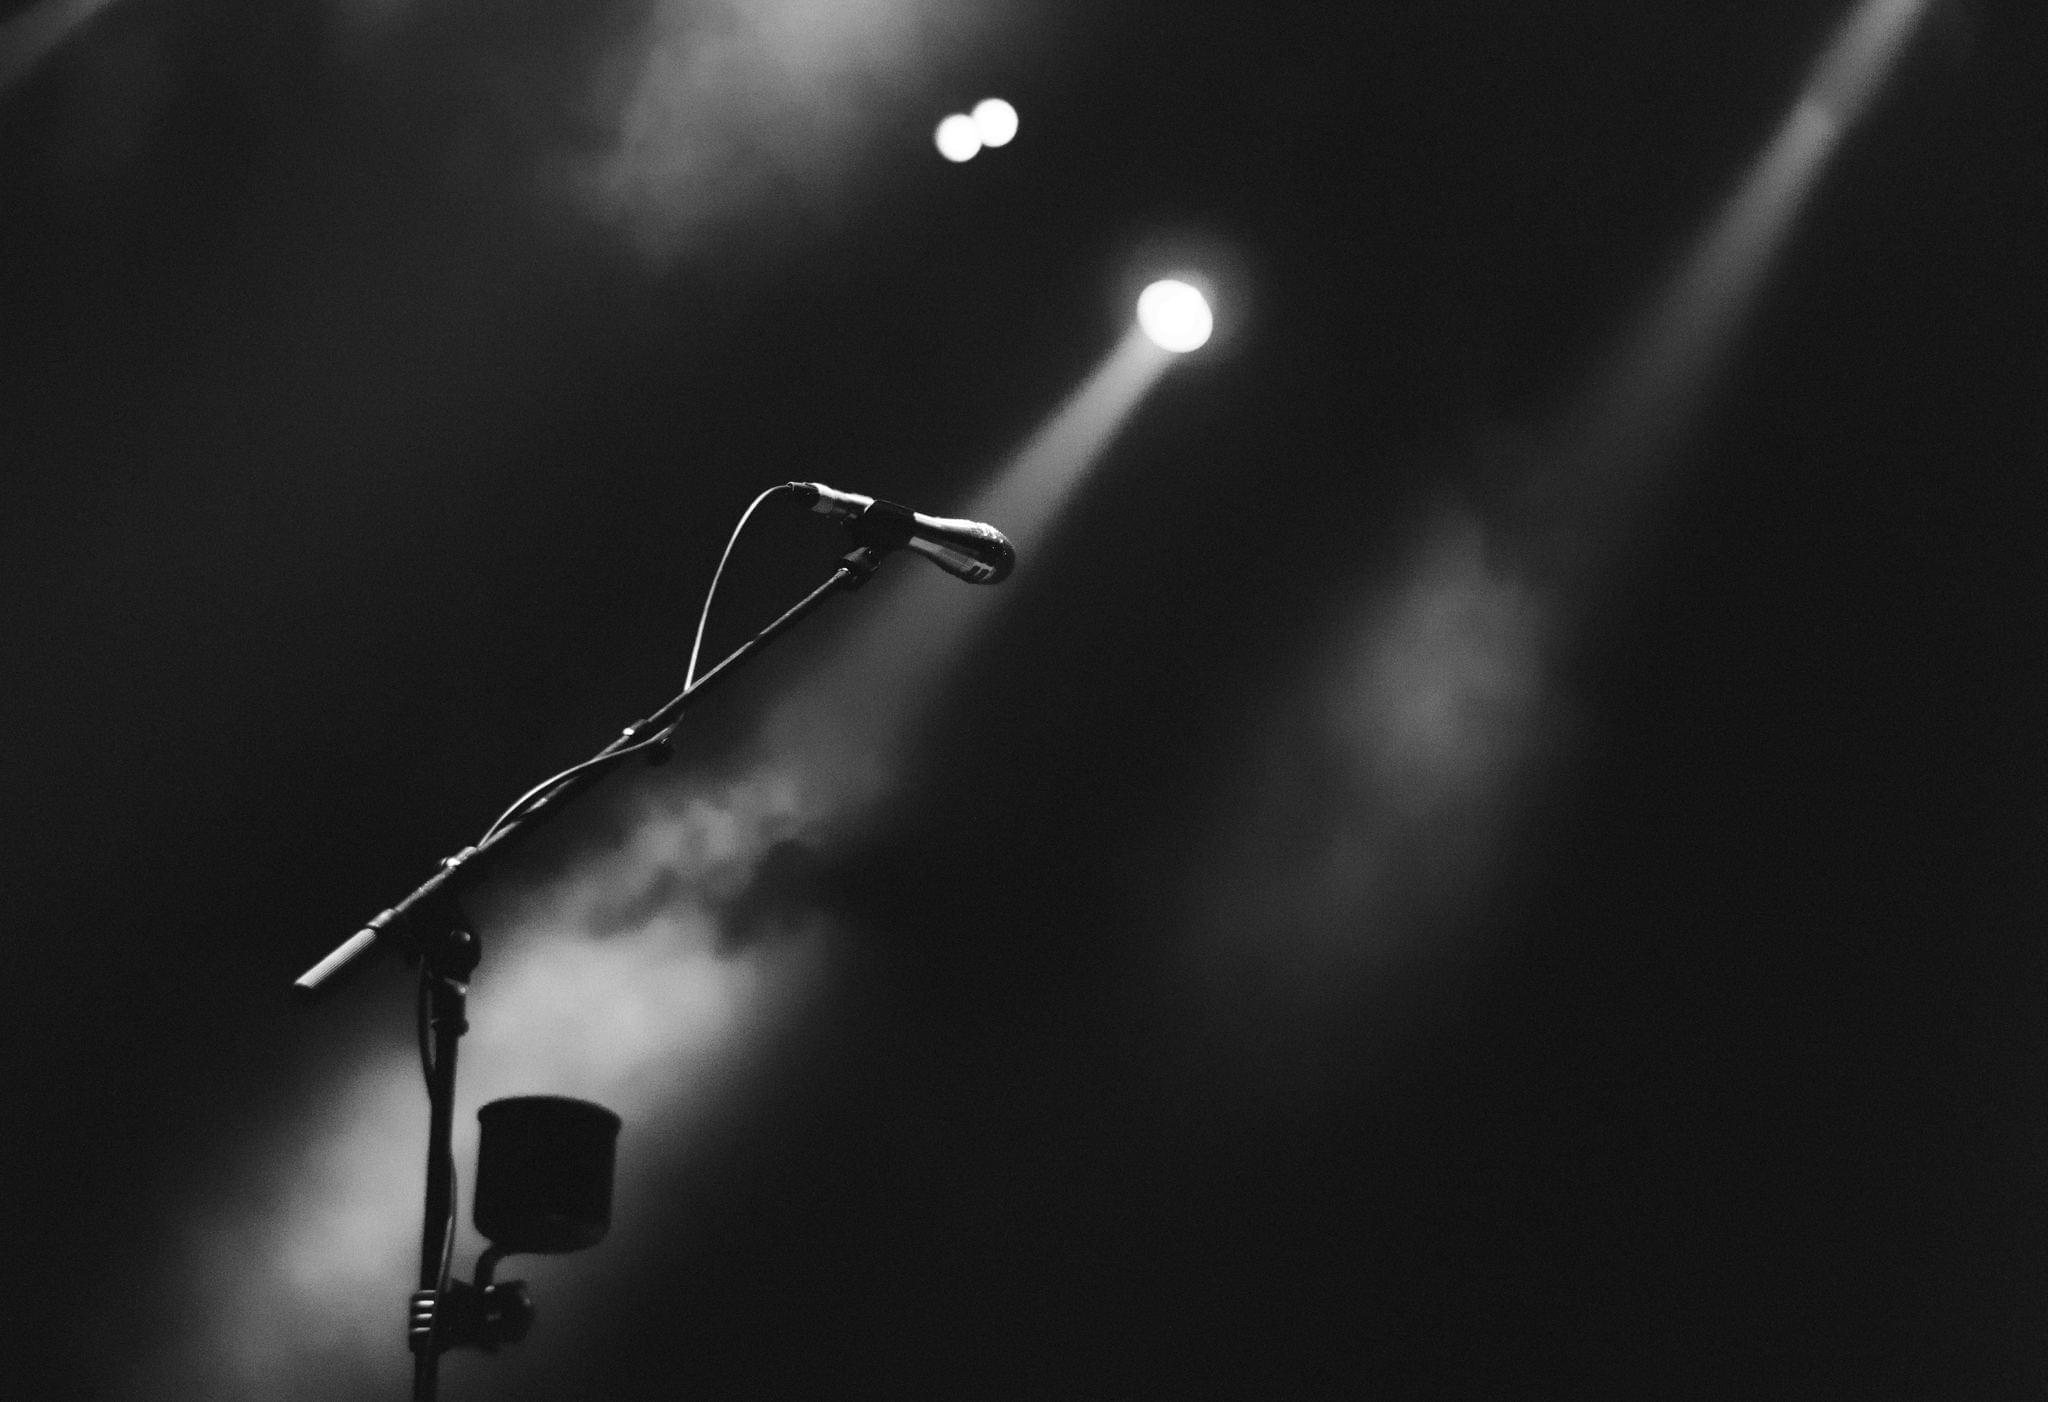
How Do You Light a Stage for a Band Show?
Step 1
Gather all Materials Needed and put them on a clear table.
Step 2
Place your shoebox or cardboard where you want your mini stage to sit.
Step 3
Cut a front opening in the box to make the stage window.
Step 4
Tape the craft paper or cloth to the back inside of the box to make a backdrop.
Step 5
Decorate the stage edges with markers or stickers.
Step 6
Cut the colored cellophane into small squares that will cover each LED.
Step 7
Tape a cellophane square over each LED to make a colored filter.
Step 8
Under adult supervision connect the small LED dimmer to the LED battery pack following the dimmer instructions.
Step 9
Tape the LED lights along the top inside edge of the box so they shine down onto the stage.
Step 10
Tuck and tape the wires along the box edges so they are neat and out of the way.
Step 11
Turn on the battery LED lights so the stage lights come on.
Step 12
Slide the dimmer slowly to set the brightness and mood you like.
Step 13
Ask an adult to check that everything is secure and cool before you start your show.
Step 14
Share a photo or video of your finished lighting setup and puppet stage on DIY.org.
Help!?
What can we use instead of the small LED dimmer or the LED battery pack if they are hard to find?
If you can't find the small LED dimmer or LED battery pack, use a battery-operated LED string or a prewired LED strip with a built-in dimmer or have an adult connect a simple AA battery pack with an inline switch to the LEDs.
My lights won't turn on or they flicker—what should I check during setup?
Check that the LED battery pack has fresh batteries, that the dimmer and wire connections are taped securely and wired exactly per the dimmer instructions, and that your cellophane squares aren't interfering with contacts or trapping heat near the LEDs.
How can we adapt the steps for younger kids or older kids who want more challenge?
For younger kids, have an adult pre-cut the stage opening, attach and tape the LED lights and dimmer, and let them decorate and place cellophane filters, while older kids can do the wiring themselves, add multiple light zones, or program RGB LEDs for color effects.
What are simple ways to improve or personalize the mini stage lighting after finishing the basic build?
Make layered backdrops from craft paper or cloth, overlap different colored cellophane squares over LEDs for gradient effects, tape extra LED strips to create spotlights, or sync light changes to music for more dramatic shows before sharing your photo or video on DIY.org.
Watch videos on how to design and build a safe lighting setup for a small stage or puppet show
How Do You Tie into Venue's Lighting System as a Band?
4 Videos
How Do You Tie into Venue's Lighting System as a Band?
How to Choose Lights for Backlight on Stage
How Do You Choose the Right Fixtures to Light Your Stage?
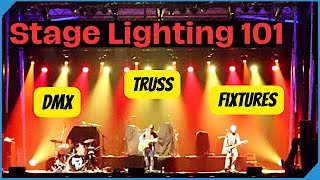
Mastering Stage Lighting Basics: Truss, Fixtures, DMX, and Power Cable Fundamentals
Facts about stage lighting and child-safe electronics
🎭 Stage lighting can instantly change a scene’s mood — the same puppet show can look spooky, joyful, or magical just by changing color and brightness.
💡 LEDs are super energy-efficient and can use up to about 80% less power than old incandescent bulbs, so battery LED lights can run a long time.
🎨 Cellophane acts like a cheap theater 'gel' — layer different colors to mix new shades and make colorful effects without special paint.
🔋 A pair of AA batteries can power small LEDs for several hours, but adding more LEDs or turning them brighter will drain batteries faster.
🎚️ Kid-friendly dimming tricks include layering filters, moving lights farther from the stage, or using simple low-voltage LED dimmer switches made for small battery lights.
How do I design and build a safe lighting setup for a small stage or puppet show using battery LED lights, colored cellophane filters, and dimmers?
What materials do I need to build a child-safe LED stage lighting setup with colored cellophane filters and dimmers?
What ages is this lighting project suitable for and how much adult supervision is required?
What safety tips and variations should I consider when setting up battery LED stage lighting?
