Build a cosplay costume
Design and build a simple cosplay costume using fabric, foam, glue, and basic sewing or low temp glue techniques. Practice measuring, cutting, and decorating.

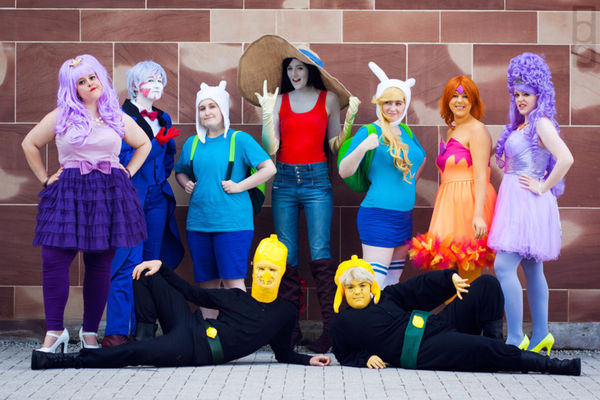

Step-by-step guide to build a cosplay costume
EASY DIY APPLE COSTUME | HALLOWEEN TODDLER KID OUTFIT TUTORIAL. Simple basic No pattern instructions
Step 1
Pick a favorite character and draw a simple sketch of the costume showing the main parts.
Step 2
Use the measuring tape to measure chest waist and the length you want the costume to be.
Step 3
Write those measurements on your sketch so your pattern will match the child.
Step 4
Draw simple paper pattern pieces for each costume part using your measurements and add 1-2 inches for seam allowance.
Step 5
Pin one paper pattern piece to the fabric and trace around it with the fabric marker.
Step 6
Place a paper pattern on the foam and trace around it with the marker for any armor or props.
Step 7
Cut out the fabric pieces carefully with scissors.
Step 8
Cut out the foam pieces carefully with scissors.
Step 9
Glue foam pieces to the matching fabric pieces using the low-temp glue gun.
Step 10
Sew or glue the fabric pieces together to form the wearable shape of the costume.
Step 11
Attach elastic or Velcro to openings so the costume fits securely.
Step 12
Decorate the costume with fabric paint sequins ribbons or markers to match your character.
Step 13
Try the costume on and use safety pins to mark any places that need trimming or adjusting.
Step 14
Make small trims stitches or glue fixes to improve the fit and finish of the costume.
Step 15
Share your finished cosplay creation on DIY.org.
Help!?
If I can't find a measuring tape, fabric marker, or craft foam, what can I substitute so I can still follow the pattern and tracing steps?
Use a string and a ruler to take chest/waist/length measurements (step 2), trace patterns with tailor's chalk or a washable marker instead of a fabric marker (step 5), and replace craft foam with corrugated cardboard or thinner EVA craft sheets for armor (step 6).
What common mistakes should I watch for when cutting, gluing, or fitting the pieces, and how can I fix them?
If fabric or foam shifts while you trace or cut (steps 5–8), pin the paper pattern securely and use sharp scissors, if glued foam peels from fabric after step 9 reinforce with extra low-temp glue or fabric glue and use safety pins (step 12) to mark fit issues before making final stitches (step 13).
How can I adapt this costume project for different ages so it's safe and fun for younger or older kids?
For young children have an adult handle scissors, the low-temp glue gun, and foam work (steps 7–9) while the child sketches (step 1) and decorates with sequins and fabric paint (step 11), and for older kids let them measure, draft patterns (steps 2–4), sew (step 8) and make removable details with Velcro (step 10) under supervision.
What are easy ways to improve or personalize the costume beyond the basic instructions?
Enhance the costume by sewing in battery LED lights glued into foam armor with the low-temp glue gun (step 9), adding embroidered details or extra ribbons and sequins from step 11, and making armor panels removable with Velcro (step 10) before sharing photos on DIY.org (step 14).
Watch videos on how to build a cosplay costume
3 Easy No-Sew DIY Halloween Costumes for Your Kids
4 Videos
3 Easy No-Sew DIY Halloween Costumes for Your Kids

10 DIY Carnival Costume Ideas for Kids
How To Make A Spider-Man Suit | Koko Kosplay
How To - Make ANY PROP or COSTUME! 500+ Free Tutorials
Facts about costume making for kids
🎭 Cosplay grew from fan costuming at sci‑fi and anime conventions and is now a global hobby with huge communities.
✂️ The old rule "measure twice, cut once" really helps when working with fabric and foam to avoid wasted materials.
🧵 A basic straight stitch or fabric glue can hold most kid-sized costume seams — you don't always need a sewing machine.
🔥 Hot-melt glue (used in low-temp glue guns) sets quickly, which makes building foam pieces and attaching decorations fast — but always use under adult supervision.
🧱 Ethylene-vinyl acetate (EVA) foam is lightweight, easy to shape with heat, and a cosplay favorite for making armor and props.
How do I help my child design and build a simple cosplay costume?
What materials and tools do we need to make a basic cosplay costume with fabric and foam?
What ages is building a cosplay costume suitable for?
What safety tips should we follow when kids use glue, scissors, or sewing tools for cosplay?
