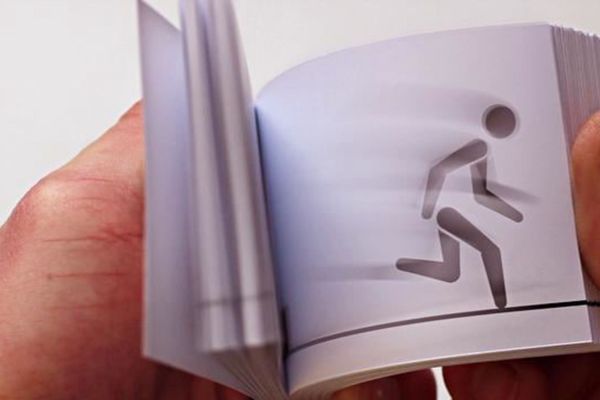
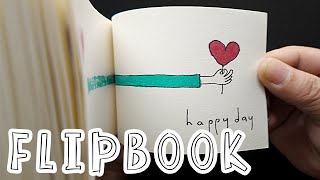
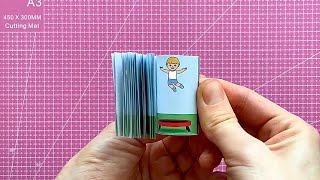
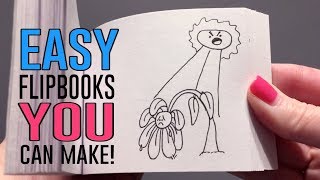
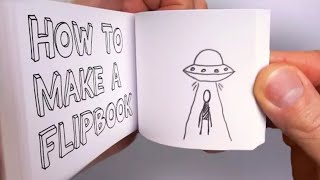
Make a flip book movie
Make a flip book movie by drawing sequential frames on cut paper, stack and bind them, then flip pages to watch your animation.


Step-by-step guide to make a flip book movie
Make Your Own Flipbook with Pixar's Pete Docter
Step 1
Pick a simple idea for your flip book like a bouncing ball a waving hand or a blinking eye.
Step 2
Choose how many frames you want to draw 20 to 30 frames makes a smooth short movie.
Step 3
Cut your paper into equal small rectangles using the ruler and scissors so every frame is the same size.
Step 4
Stack the cut sheets neatly so all the edges line up exactly.
Step 5
Number the back of each sheet in order with your pencil so you don’t mix them up.
Step 6
Draw the first frame on the top sheet with your pencil showing the starting pose.
Step 7
Place the next blank sheet on top of the previous drawing and align the edges so you can see the earlier image as a guide.
Step 8
Draw the next frame with a small change from the previous frame using pencil so the motion moves a little.
Step 9
Repeat placing a new sheet on top and drawing one small change until every frame is finished.
Step 10
Trace over your pencil drawings with the black pen or fine-tip marker if you want darker lines and let the ink dry.
Step 11
Trim any uneven edges with scissors so the pages flip smoothly.
Step 12
Bind the stacked pages along one short edge with a stapler or secure them tightly with a strong rubber band or binder clip and add a cardboard cover if you like.
Step 13
Flip through your bound edge with your thumb to watch your animation and then share your finished creation on DIY.org
Help!?
What can we use if we don't have a stapler or binder clip to bind the flip book?
If you don't have a stapler or binder clip, tightly wrap a strong rubber band around the short edge or punch two holes and thread yarn through to secure the stacked pages as suggested in the binding step.
My drawings shift and the animation flips choppy—how can I stop that?
Clamp the stack with a binder clip or hold the aligned edges against a ruler while you draw, number the back of each sheet as instructed, and after inking trim uneven edges with scissors so the pages flip smoothly.
How can I adapt the activity for different ages?
For younger children use larger rectangles, 10–15 frames, and pre-drawn simple poses to trace, while older kids can cut 20–30 smaller frames, use a fine-tip marker to trace lines, add shading or more complex motions like a waving hand, and make longer movies as stated in the frame-count step.
How can we make the flip book more creative or shareable after finishing?
After tracing with your black pen, add color with markers or colored pencils, glue on a cardboard cover, photograph or scan each page to make a digital stop-motion movie, and then upload the clip to DIY.org to share your finished creation.
Watch videos on how to make a flip book movie
How to make a simple flipbook. The complete process
4 Videos
How to make a simple flipbook. The complete process
Easy Flipbook Animation for Kids, How to Make a Flipbook with the Templates from Cut The Whole Book
8 EASY Flipbooks YOU can make!
How to Make a Flip Book | Easy Step-by-Step Guide for Beginners
Facts about stop-motion animation for kids
🎞️ The flip book was patented in 1868 by John Barnes Linnett and was originally called a “kineograph” — an early portable animation!
👀 Flip books work because your eyes and brain blend quickly changing images into smooth motion — the same trick movies use.
✏️ Early animators (including Disney teams) often made quick flipbooks to test character movement before drawing full scenes.
⏱️ Traditional animation commonly uses 12 or 24 frames per second — more frames make motion look smoother in your flip book.
📐 Draw about 60 frames and flip at ~12 frames per second to get around 5 seconds of animation — a cute tiny movie!
How do I make a flip book movie?
What materials do I need to make a flip book movie?
What ages is making a flip book movie suitable for?
What are the benefits of making a flip book movie and are there variations?
