Make a paper spinner
Make a colorful paper spinner using cardstock, scissors, and a pencil. Cut, fold, and decorate to test how weight and shape affect spinning.

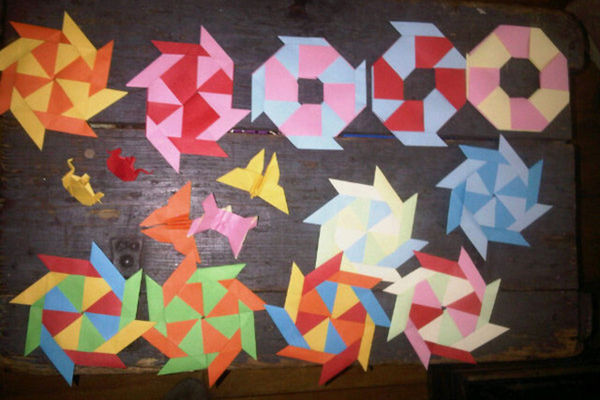

Step-by-step guide to make a colorful paper spinner
Easiest DIY PAPER SPINNERS Kids Will Love
Step 1
Gather your cardstock scissors pencil and coloring materials and find a clear table to work on.
Step 2
Use your pencil to draw a circle about as wide as your hand and put a small dot in the center.
Step 3
Cut out the circle carefully along your pencil line.
Step 4
Draw four straight lines from the center to the edge to divide the circle into blades and cut along each line stopping about 1 centimeter from the center.
Step 5
Push the pencil tip gently through the center dot to make a small hole for the spinner axis (ask an adult for help).
Step 6
Fold each blade up just a little in the same direction so they look like tiny airplane wings.
Step 7
Decorate each blade with bright colors or patterns using your coloring materials.
Step 8
Cut a tiny slit or notch at the tip of each blade to hold a small weight.
Step 9
Cut four small squares from your leftover cardstock and fold each square into a tiny compact weight.
Step 10
Tuck one folded square into the notch at the tip of one blade to make that blade heavier.
Step 11
Slide the spinner gently onto the pencil tip through the center hole so it can turn.
Step 12
Spin the spinner by flicking a blade or blowing on it and watch how it moves.
Step 13
Move a weight to a different blade to make the spinner unbalanced and change how it spins.
Step 14
Spin the spinner the same way again and compare how long or steady each version spins.
Step 15
Take a photo or note of your favorite spinner and share your finished creation on DIY.org.
Help!?
What can we use if we don't have cardstock, a pencil, or little cardstock squares for weights?
Substitute a cereal-box cardboard or two glued sheets of printer paper for the cardstock, use a toothpick or straightened paperclip pushed through the center dot instead of the pencil tip, and fold tiny pieces of scrap paper or use small buttons taped into the notches as weights.
Why does my spinner wobble or not spin smoothly and how do I fix it?
If it wobbles or won't spin, widen the center hole only slightly so the axis (pencil tip or substitute) turns freely, ensure your blade cuts stopped about 1 centimeter from the center and each blade is folded the same direction, and secure the folded weight in its notch with a tiny piece of tape so it doesn't fall out.
How can I adapt the activity for younger toddlers or older kids?
For younger children have an adult pre-cut the circle and notches and provide pre-folded weights and stickers for decorating, while older kids can move weights, time spins, and record how different weight positions change spin duration.
How can we improve or extend the spinner project once it's finished?
Enhance the spinner by adding a small bead or earring finding on the pencil tip as a low-friction pivot, tape or glue some weights to test fixed imbalances, make several spinners with different blade shapes or weight sizes, and photograph your favorite to share on DIY.org.
Watch videos on how to make a colorful paper spinner
How to Make Easy Paper Spinners | Science Craft
4 Videos

How to Make Easy Paper Spinners | Science Craft
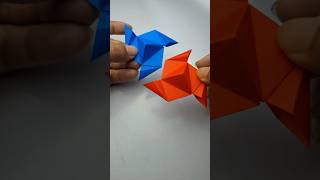
DIY Origami Paper Spinner | Easy Paper Toy Making Tutorial! #PaperSpinner #DIYPaperCraft #PaperToy

How To Make A Paper Spinner | Baker Ross

Easy Origami Paper Spinner | Fun DIY Paper Toy Tutorial for Kids & Beginners☢️
Facts about paper crafts and basic physics
🌀 Spinning tops stay upright longer the faster they spin because angular momentum resists tipping.
✂️ Cardstock is thicker and stiffer than regular paper (often around 200–350 gsm), which helps spinners hold their shape.
⚖️ Moving mass farther from the center increases the moment of inertia, which can make a spinner steadier but slower to accelerate.
🎨 Uneven decorations or folds can shift a spinner’s center of mass and cause wobbling instead of smooth spinning.
🔬 Paper spinners let kids explore the same rotation principles used in gyroscopes that help guide spacecraft and smartphones.
How do you make a paper spinner?
What materials do I need for a paper spinner?
What ages is this activity suitable for?
What are some variations to test how weight and shape affect spinning?
