Make a bag or pouch
Sew a simple fabric pouch using felt, thread, and a button; practice measuring, cutting, and basic sewing skills to carry small treasures.


Step-by-step guide to sew a simple felt pouch
Cute Little Pouch Bag Tutorial | Super Easy Step-by-Step Guide!
Step 1
Choose one or two felt colors you like and lay them flat on your workspace.
Step 2
Use the ruler and pencil to draw a rectangle about 15 cm long and 12 cm tall on the felt.
Step 3
Cut out the rectangle along your pencil lines using scissors.
Step 4
Use the ruler to mark a fold line about one-third of the rectangle from one short edge.
Step 5
Fold the felt along the marked line so the top flap folds down over the front and press to make a crease.
Step 6
Pin the two side edges of the folded felt so the bottom pocket stays lined up.
Step 7
Thread the needle with a length of thread and tie a knot at the thread end.
Step 8
Sew from the bottom up along one side edge using a running stitch until you reach the fold line.
Step 9
Sew the other side edge the same way from bottom up to the fold line.
Step 10
Tie a secure knot in the thread at the end of your stitches and trim the extra thread.
Step 11
Make a small dot on the front pocket where you want the button to sit.
Step 12
Sew the button onto the dotted spot by pushing the needle through the felt and the button holes several times.
Step 13
Tie a secure knot to finish the button thread and trim the excess thread.
Step 14
Cut a small slit in the center of the flap big enough for the button to slip through and test that the flap closes over the button.
Step 15
Share your finished pouch on DIY.org.
Help!?
What can we use instead of felt, pins, or a sewing needle if those are hard to find?
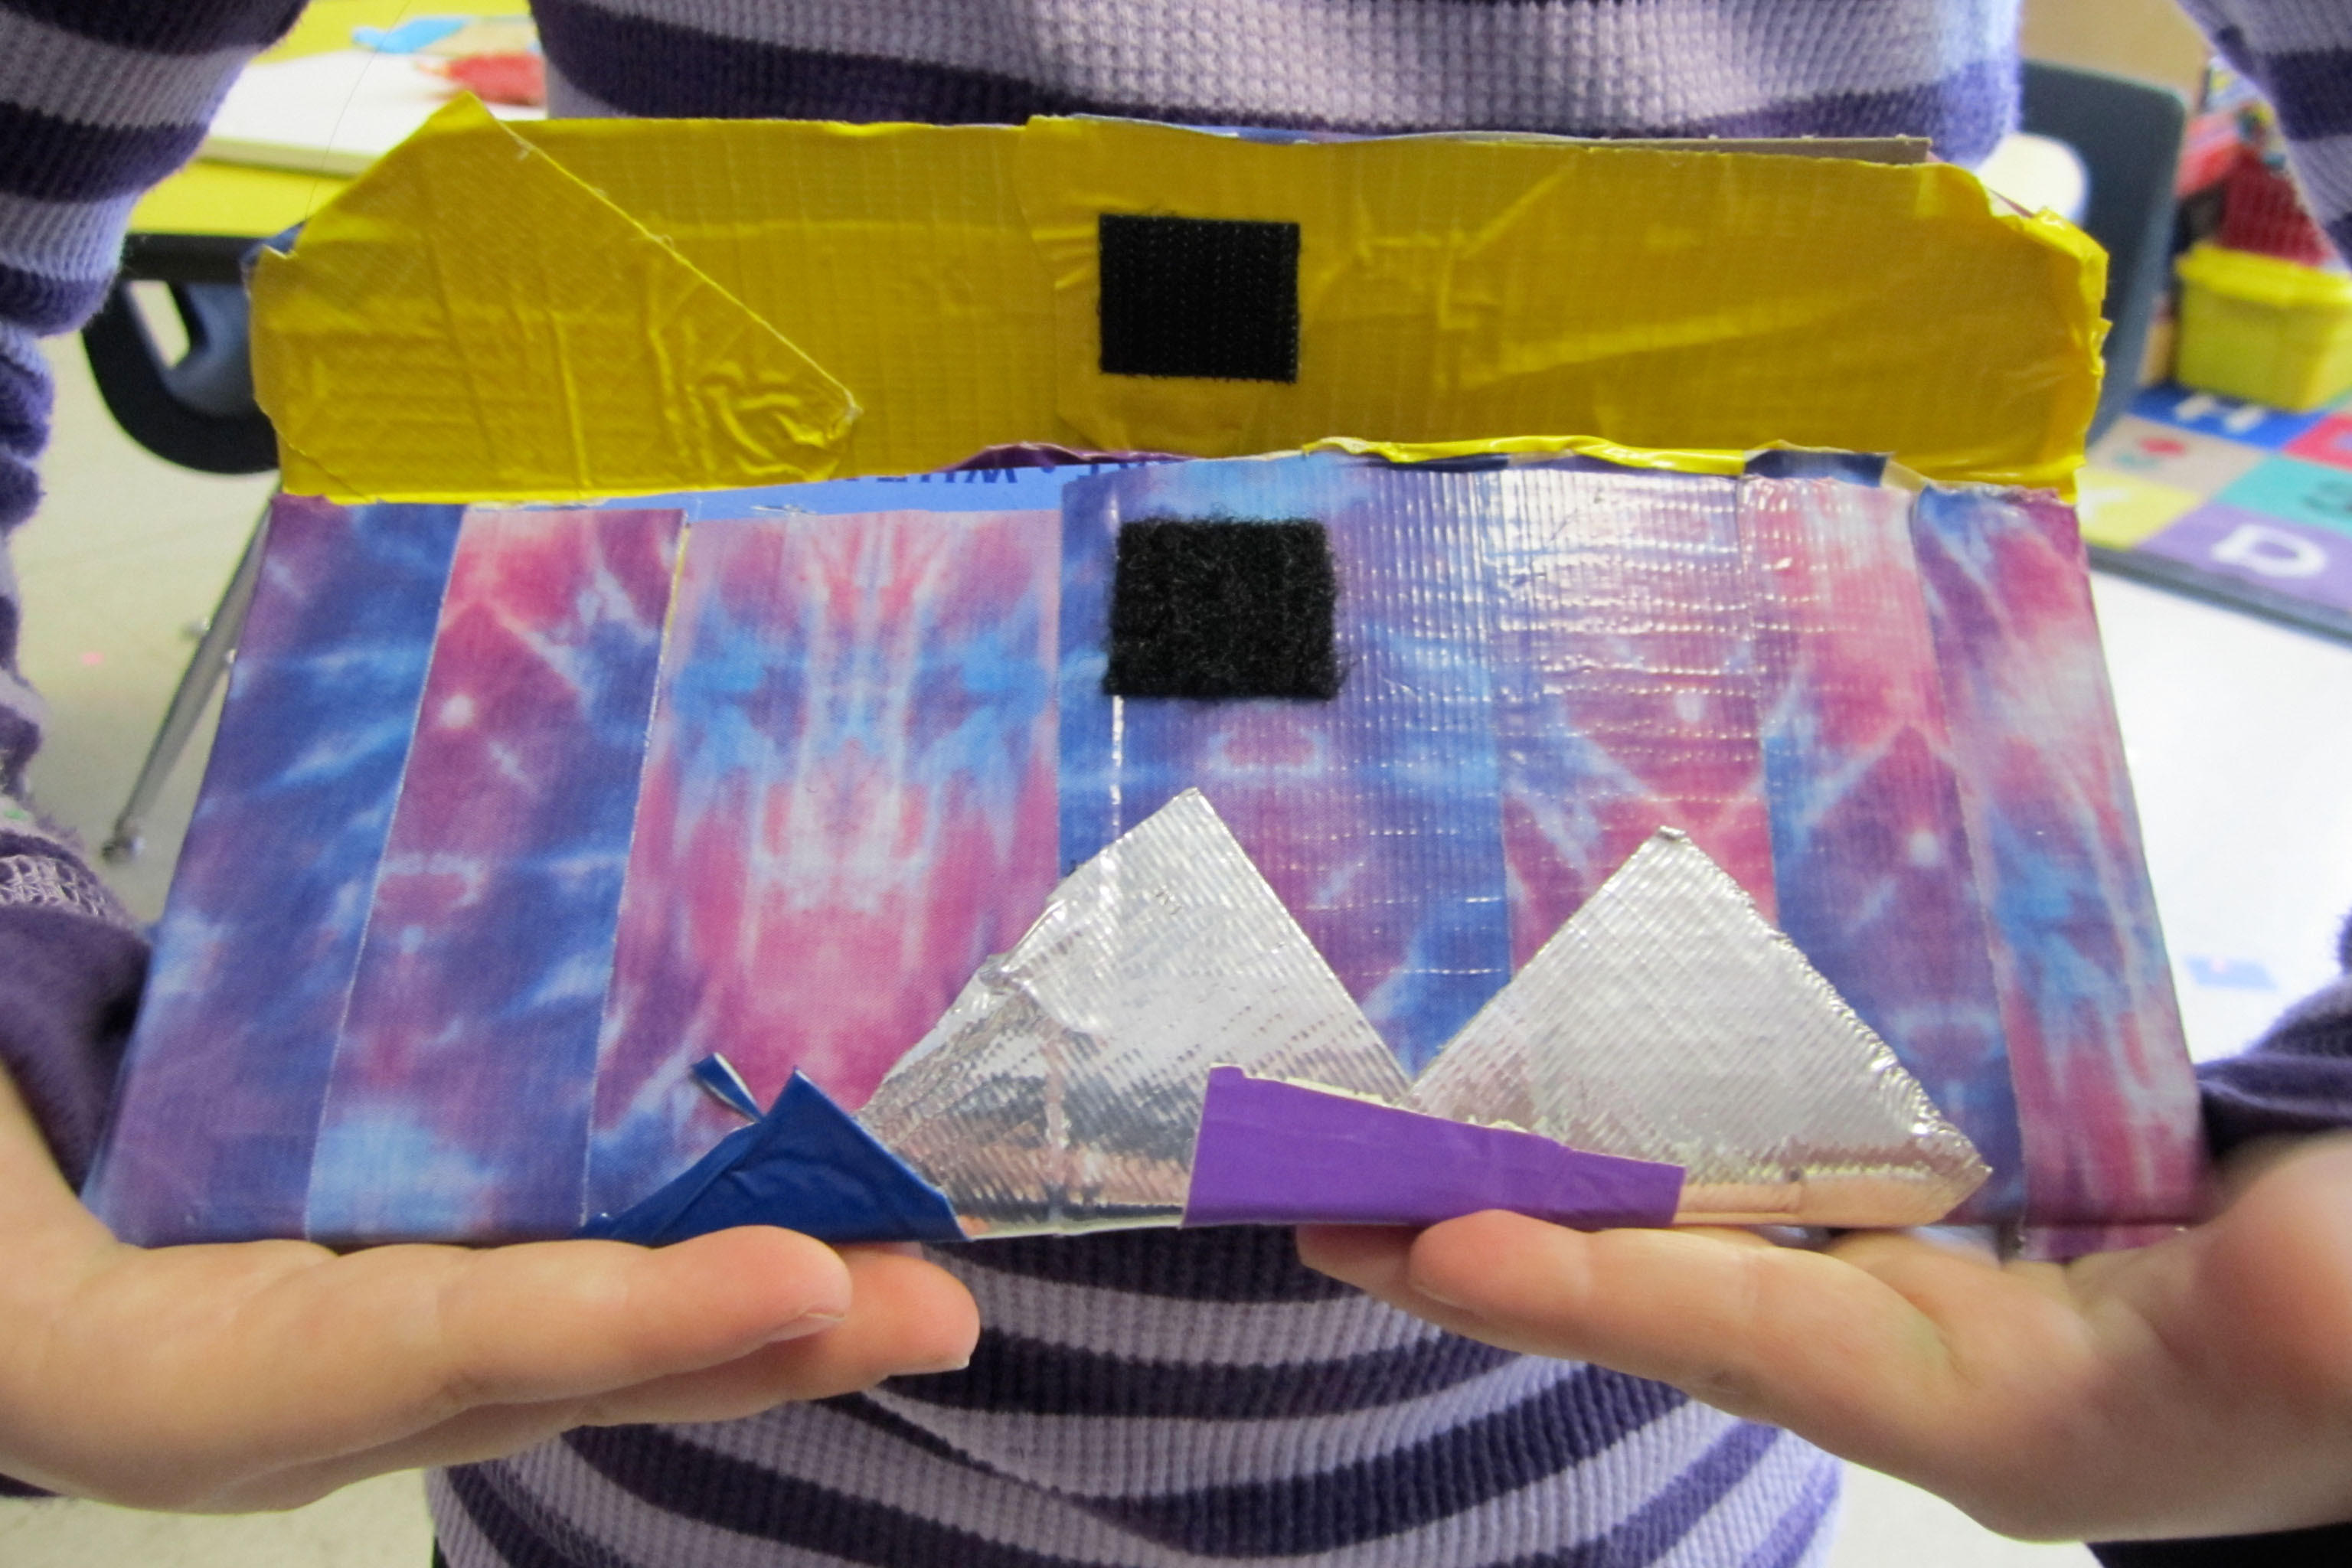
If you don't have felt use doubled-up cotton fabric or craft foam cut to the same 15 × 12 cm rectangle, replace pins with binder clips or clothespins to hold the fold (step 5), and use fabric glue or a hot‑glue gun in place of needle and thread (steps 7–12) while swapping the button for Velcro or a snap (steps 13–14).
My pocket puckers or the sides don't match when I sew—how do I fix that?
If the sides misalign or the pocket puckers during the running stitch (steps 5–9), unpick a few stitches, realign the pinned edges, use shorter, evenly spaced stitches from the bottom up, and press the fold line flat before resewing to keep the pocket neat.
How can I change the activity for different age groups?
For younger children pre-cut the 15×12 cm rectangle, let them fold and glue the sides and use Velcro for the closure, while older kids can measure, mark the fold line, sew the running stitch themselves, and add a lined interior or decorative embroidery around the fold line.
What are some fun ways to personalize or upgrade the pouch once it's finished?
Personalize by sewing felt shapes or buttons onto the front before folding (steps 1–4), add a felt strap sewn into the side seams for a wristlet, or stitch an extra inner pocket and swap the button for a decorative bead closure, then share your finished pouch on DIY.org as instructed.
Watch videos on how to sew a simple felt pouch
How to make a cute bag from a rectangular piece of cloth | Easy Sewing Tutorial
4 Videos

How to make a cute bag from a rectangular piece of cloth | Easy Sewing Tutorial
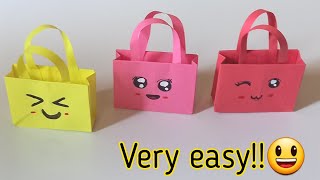
Origami paper bag|How to make paper handbag|Diy paper bag|Easy paper bag making|DIY paper handbag
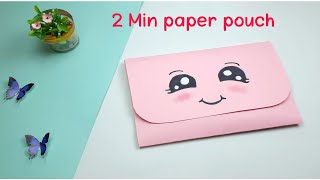
how to make paper pouch without zip | diy paper pouch very easy | paper pouch
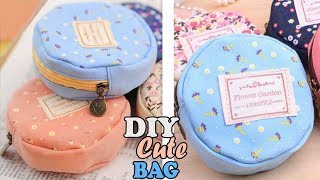
DIY TEXTILE ROUND POUCH BAG // Cute Zipper Mini Bag Tutorial
Facts about sewing for kids
🧵 Hand sewing is thousands of years old — ancient needles show people stitched clothes long ago.
🧶 Felt is one of the oldest textiles and doesn't fray, so it's perfect for simple pouches kids can cut and sew.
🪡 Buttons have been used for thousands of years as both decorations and fasteners on clothing.
📏 Flexible tape measures became common in the 1800s and make measuring fabric quick and easy.
🎒 Before sewn-in pockets, people carried small treasures in separate pouches tied to belts or clothing.
How do you sew a simple felt pouch to carry small treasures?
What materials do I need to make a felt pouch?
What ages is sewing a felt pouch suitable for?
What are the benefits of making a felt pouch with kids?
