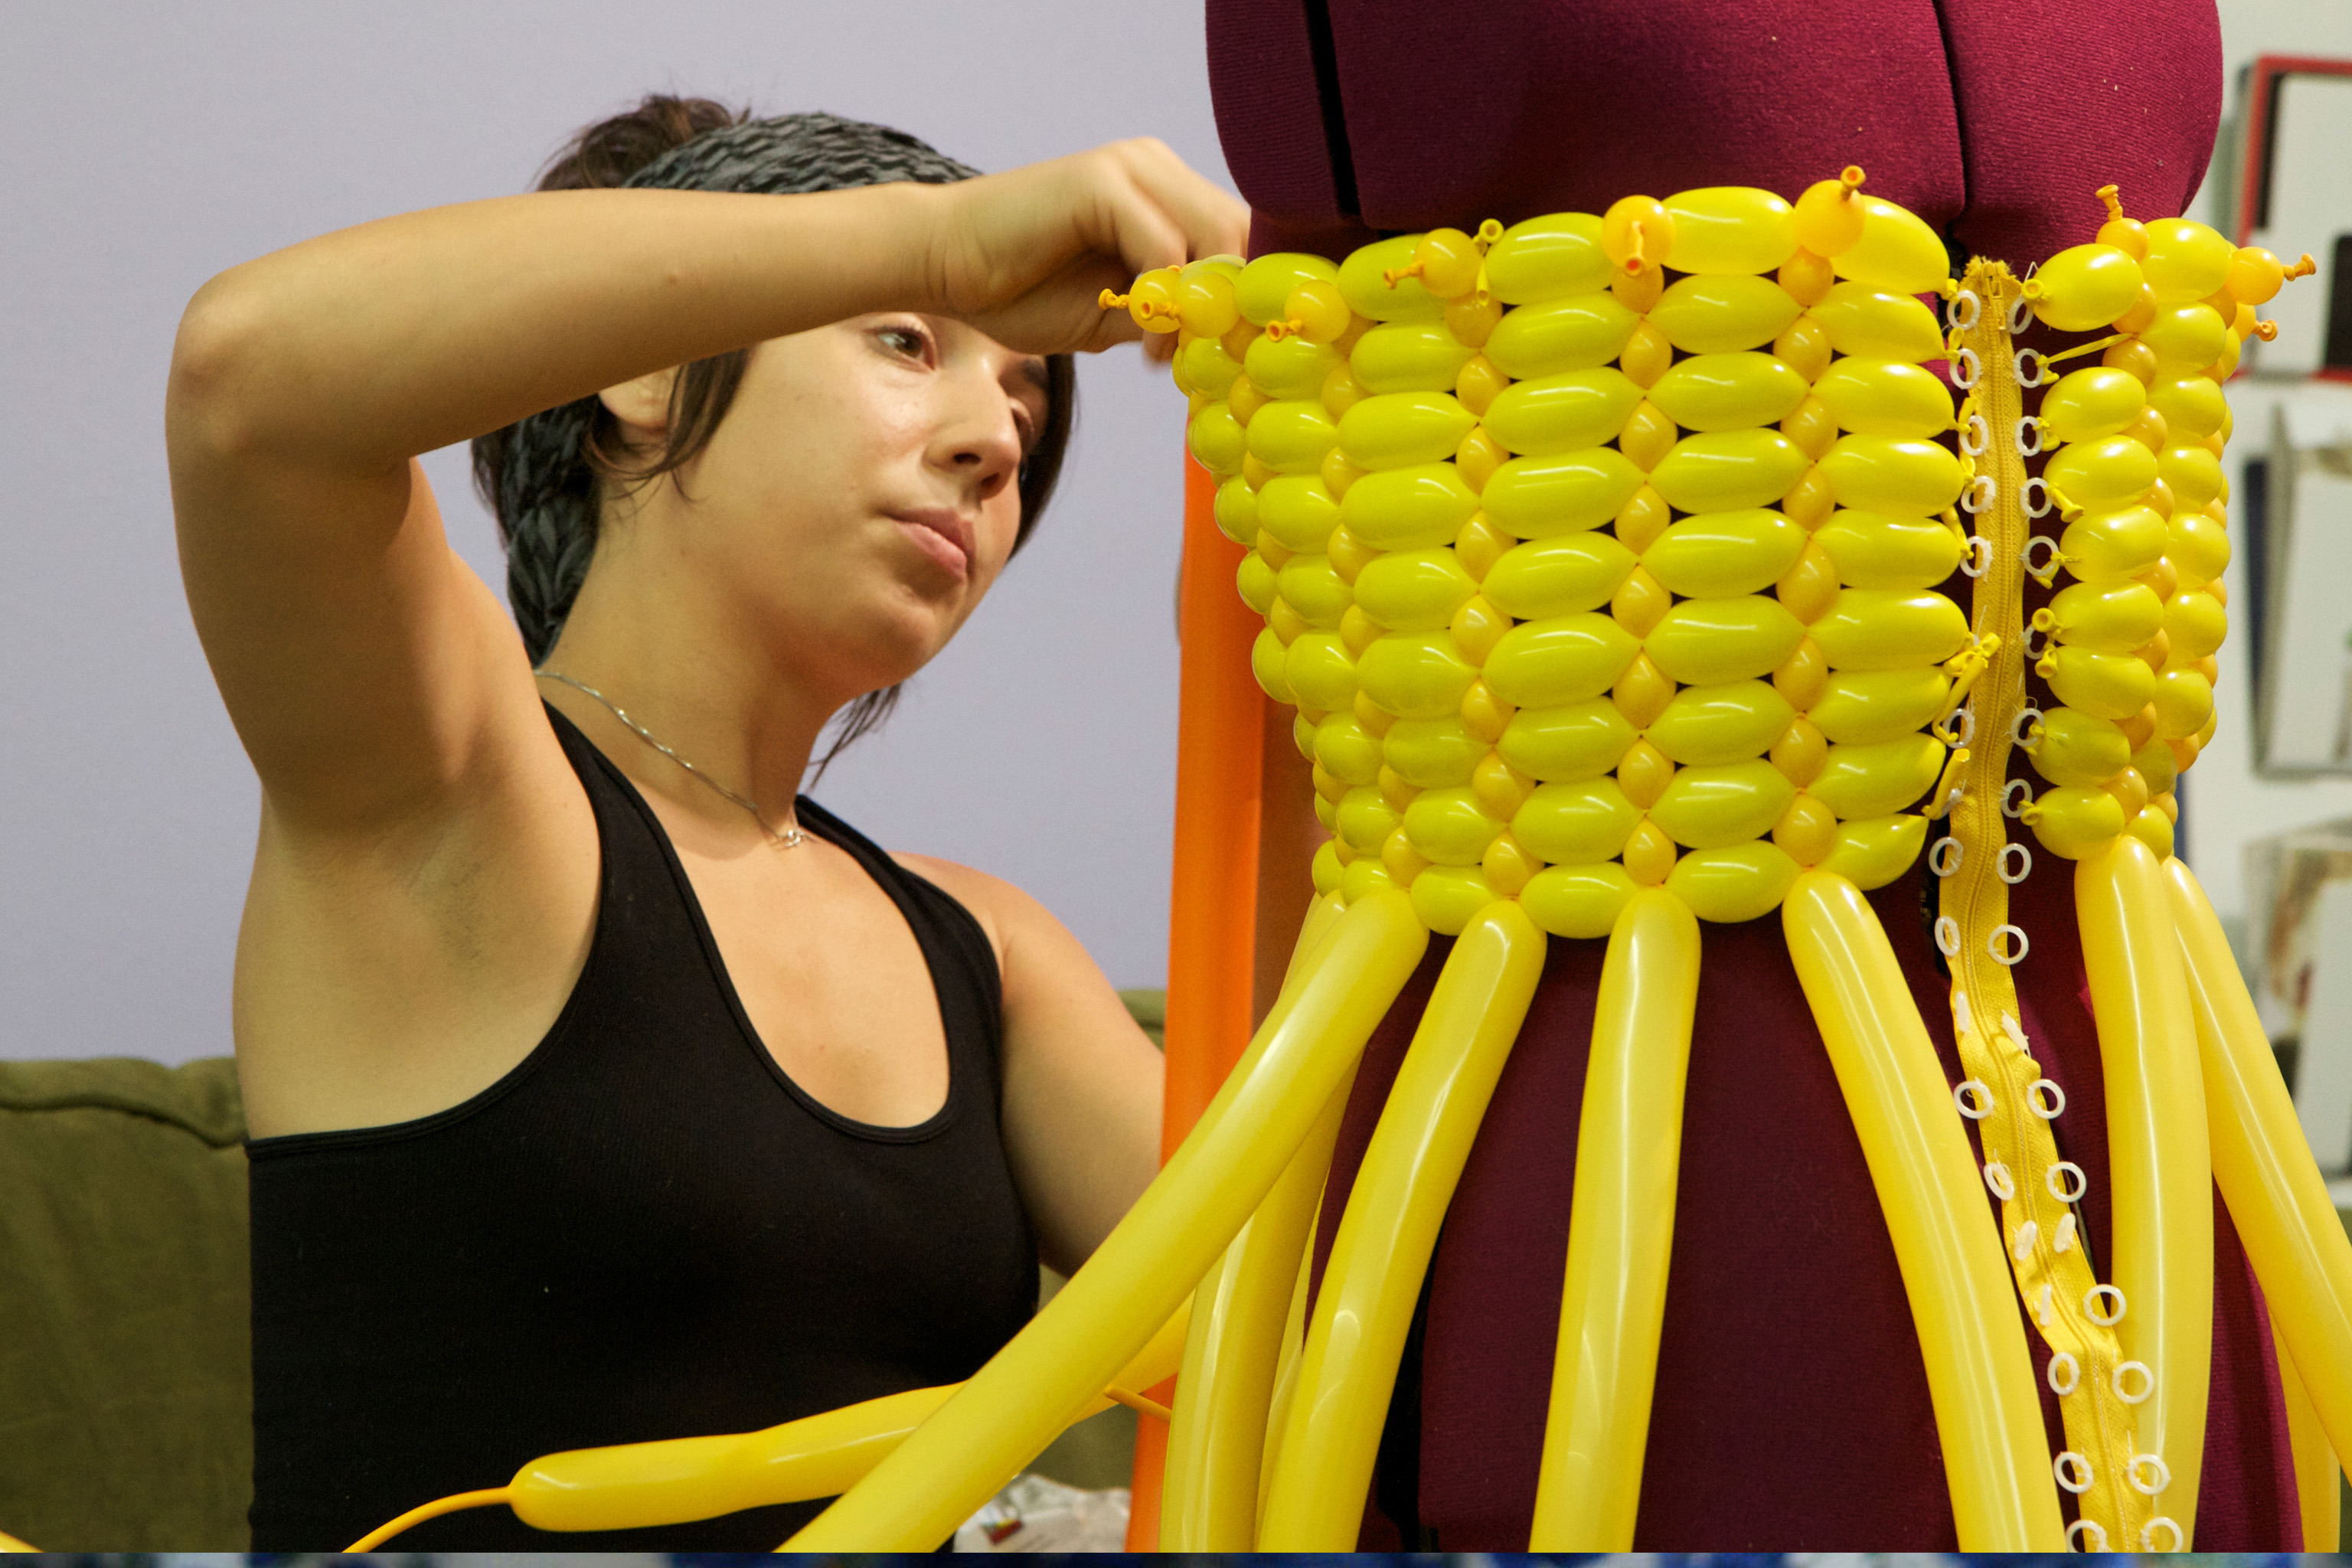
Design clothing from unusual materials
Design and make simple wearable clothing or accessories from unusual materials like newspaper, plastic bags, and tape, learning measuring, cutting, and creative problem solving.


Step-by-step guide to design clothing from unusual materials
THE BEST IN COSTUME WINNER USING RECYCLED MATERIALS! | JUNABETH
Step 1
Gather all the materials from the list and bring them to a clear workspace.
Step 2
Decide if you will make a skirt cape hat bracelet or another simple accessory and say your choice out loud.
Step 3
Use the measuring tape to measure the body part you will dress like waist neck head or wrist.
Step 4
Write the measurement numbers on paper with your pencil.
Step 5
Lay out newspaper and plastic bags flat and overlap them until the sheet looks big enough.
Step 6
Tape the overlapping edges so the layers become one strong sheet.
Step 7
Place the sheet on the floor and draw cutting lines using your measurements.
Step 8
Cut out the shape along the lines with scissors while an adult watches.
Step 9
Join the cut pieces by taping or pinning the edges to form the wearable shape.
Step 10
Make a fastening by folding tape to make a waistband or tying string or elastic to create ties.
Step 11
Try on the clothing or accessory to check how it fits.
Step 12
Trim or add more tape or pins to improve the fit and comfort.
Step 13
Decorate your creation with colouring materials and add any extra details like pockets or trim.
Step 14
Share your finished creation on DIY.org.
Help!?
What can we use instead of newspaper or plastic bags if those are hard to find?
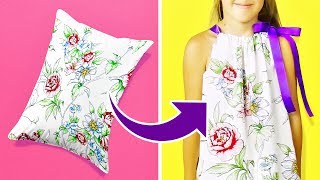
Use large butcher paper, a flattened bedsheet taped at the seams, or a wide piece of flattened cardboard instead of newspaper and plastic bags when you lay out and overlap the sheet until it looks big enough.
My taped seams keep peeling or the shape rips when I join pieces—what should I try?
If seams peel or the sheet rips while you tape the overlapping edges or join the cut pieces, reinforce those joins with stronger duct tape, add a second layer of taped material, and have an adult hold edges while you press and trim for a smooth finish.
How can we adapt the activity for younger children or older kids?
For younger children, an adult can pre-measure with the measuring tape and pre-cut the taped sheet so kids can stick tape and decorate safely with wide scissors, while older kids can take exact measurements, experiment with elastic or string fastenings, and add structured trims.
How can we make the finished piece fancier or more wearable long-term?
To improve wearability, follow the make a fastening step using a taped waistband or sewn elastic, reinforce seams with extra tape or a fabric lining, add pockets or decorative trim during the decorate step, and then photograph it to share on DIY.org.
Watch videos on how to design clothing from unusual materials
Recycling Idea / Outfit Designed With Recycled materials For Recycling Fashion Show:
4 Videos
Recycling Idea / Outfit Designed With Recycled materials For Recycling Fashion Show:

Fashion Design for Kids, Teachers and Parents

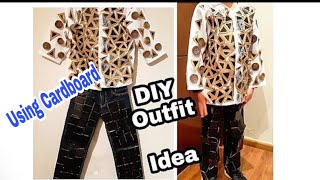
HOW TO MAKE A DRESS/GOWN USING CARTON BOXES (QUICK, EASY, CREATIVE) | JUNABETH
13 EASY DIY CLOTHING HACKS FOR KIDS
Facts about upcycling and wearable crafts for kids
✂️ Duct tape started as a cloth-backed waterproof tape in World War II and is now a go-to for quick costume fixes and creative crafts.
📰 The "paper dress" was a 1960s fashion fad and designers still make paper outfits for art shows and competitions today.
♻️ Upcycling turns trash into treasure — crafty makers weave plastic bags into 'plarn' (plastic yarn) to knit or crochet wearable items.
🧮 Simple wearable patterns often need only a few measurements (waist, length, shoulder) — great for learning measuring and cutting skills.
🎨 Maker fairs and school fashion shows frequently showcase outfits made from recycled materials, celebrating creativity and sustainable thinking.
How do I help my child design and make wearable clothing from newspaper and plastic bags?
What materials and tools do we need to design clothing from newspaper, plastic bags, and tape?
What ages is crafting wearable clothing from unconventional materials suitable for?
What safety tips and creative variations can improve this clothing design activity?
