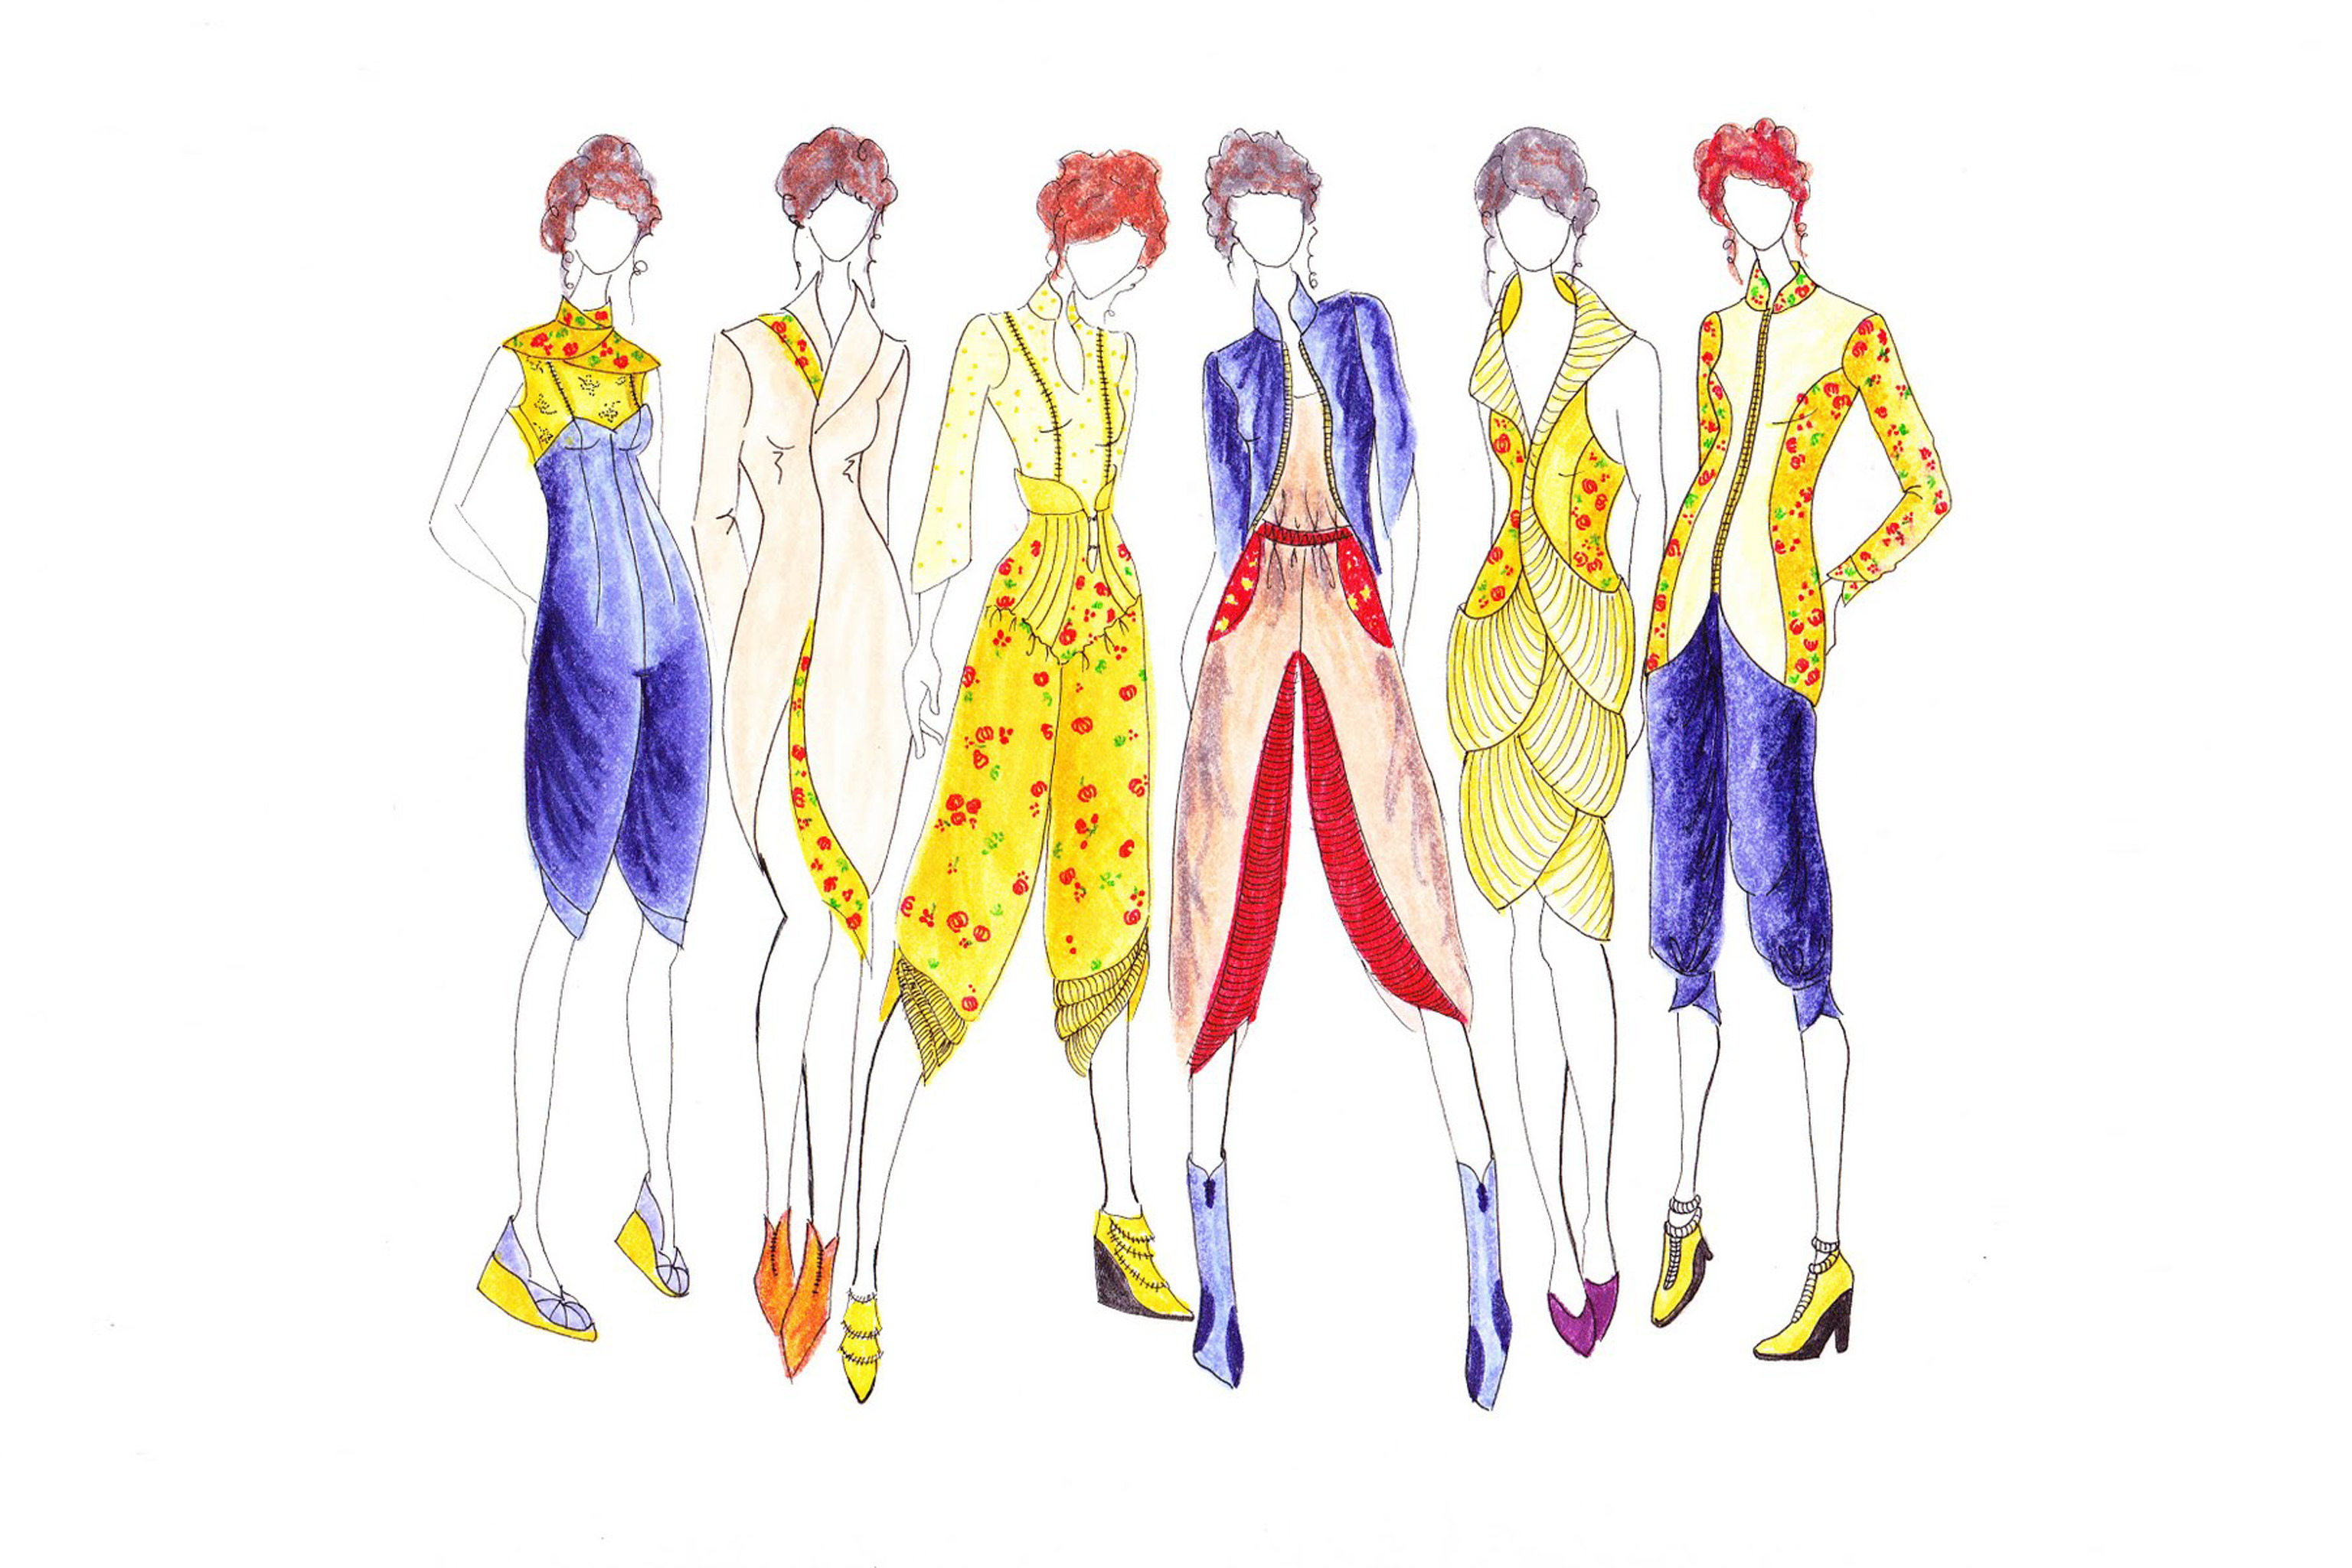
Draw a fashion illustration
Draw a fashion illustration using pencil, markers, and basic shapes to practice body proportions, clothing details, textures, and color choices for a unique outfit.


Step-by-step guide to draw a fashion illustration
How to Draw a Fashion Illustration | Easy Step-by-Step Tutorial for Beginners
Step 1
Find a clean flat surface and place one sheet of paper so you have lots of room to draw.
Step 2
Lightly draw a straight vertical center line down the middle of the paper with your pencil to guide your figure.
Step 3
Draw an oval near the top of the center line for the head using a light pencil touch.
Step 4
Use the height of that head oval to make seven evenly spaced marks down the center line so the figure will be eight heads tall.
Step 5
Sketch a simple mannequin over your marks by drawing a long torso column a short neck and basic limb lines with small circles for joints.
Step 6
Draw sloping shoulder lines and a short horizontal hip line to set the body’s width and pose.
Step 7
Sketch the clothing shapes on top of your mannequin using basic shapes like rectangles for jackets triangles for skirts or flowing lines for dresses.
Step 8
Add clothing details such as seams buttons pockets collars and folds to show how the fabric sits on the body.
Step 9
Trace the final outline of your figure and outfit with a darker pencil or a fine marker so your design pops.
Step 10
Gently erase the light guide marks and construction lines so only your clean design remains.
Step 11
Color the main areas of the outfit with markers to choose bold colors and graphic shapes.
Step 12
Add textures and shading with colored pencils using short strokes to show fabric types and depth.
Step 13
Share your finished fashion illustration on DIY.org
Help!?
What can we use if we don't have a fine marker, markers, or colored pencils?
Trace the final outline with a dark HB pencil or black gel pen instead of a fine marker, use washable felt-tip pens or crayons to color the main areas, and use regular colored crayons to add textures and shading in place of colored pencils.
My figure looks out of proportion—what step often goes wrong and how do we fix it?
If proportions are off, redo step 4 by measuring the head-oval and making seven evenly spaced marks down the center line before sketching the mannequin, and check limb placement with the small joint circles from step 5.
How can I adapt this drawing for different ages or skill levels?
For younger kids skip the eight-head proportion step and give them a pre-drawn mannequin to sketch clothing on, while older kids should follow the head-measurement rule in step 4 and add detailed seams, buttons, and pockets from step 8.
How can we extend or personalize the fashion illustration activity after finishing the basic design?
Enhance the project by tracing the final outline with a fine marker, adding fabric textures and shading with colored pencils, gluing on small pieces of patterned paper or fabric for real textures, and then photograph the finished illustration to share on DIY.org.
Watch videos on how to draw a fashion illustration
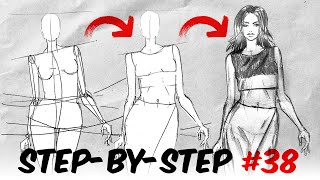
Easy Fashion Illustration: Step-by-Step Model Drawing for Beginners
4 Videos

Easy Fashion Illustration: Step-by-Step Model Drawing for Beginners
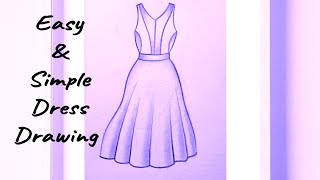
Easy & Simple dress Drawing For Beginners | Fashion Sketching | How to draw Clothes Step by Step
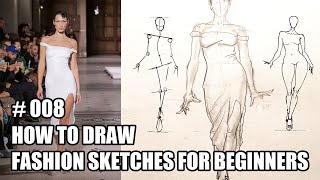
How to draw fashion sketches for beginners. Illustration tutorial. Model drawing design
How to draw fashion sketches for beginners | Fashion Illustration Tutorial
Facts about fashion illustration and figure drawing for kids
✏️ Fashion croquis are often drawn 9 to 10 'heads' tall — designers elongate figures to make clothes look more elegant.
👗 Before fashion photography, fashion plates and hand-drawn sketches were the main way to show new styles to the public.
🎨 Complementary colors (opposites on the color wheel) create high contrast and make outfits really pop.
🖊️ Alcohol-based markers (like Copics) are popular with illustrators because they blend smoothly and give rich, streak-free color.
📐 Starting a sketch with basic shapes — ovals, rectangles, and triangles — helps build accurate proportions and quick clothing ideas.
How do I draw a fashion illustration to practice proportions and clothing details?
What materials do I need to draw a fashion illustration at home?
What ages is drawing fashion illustration suitable for?
What are the benefits of having kids draw fashion illustrations?
