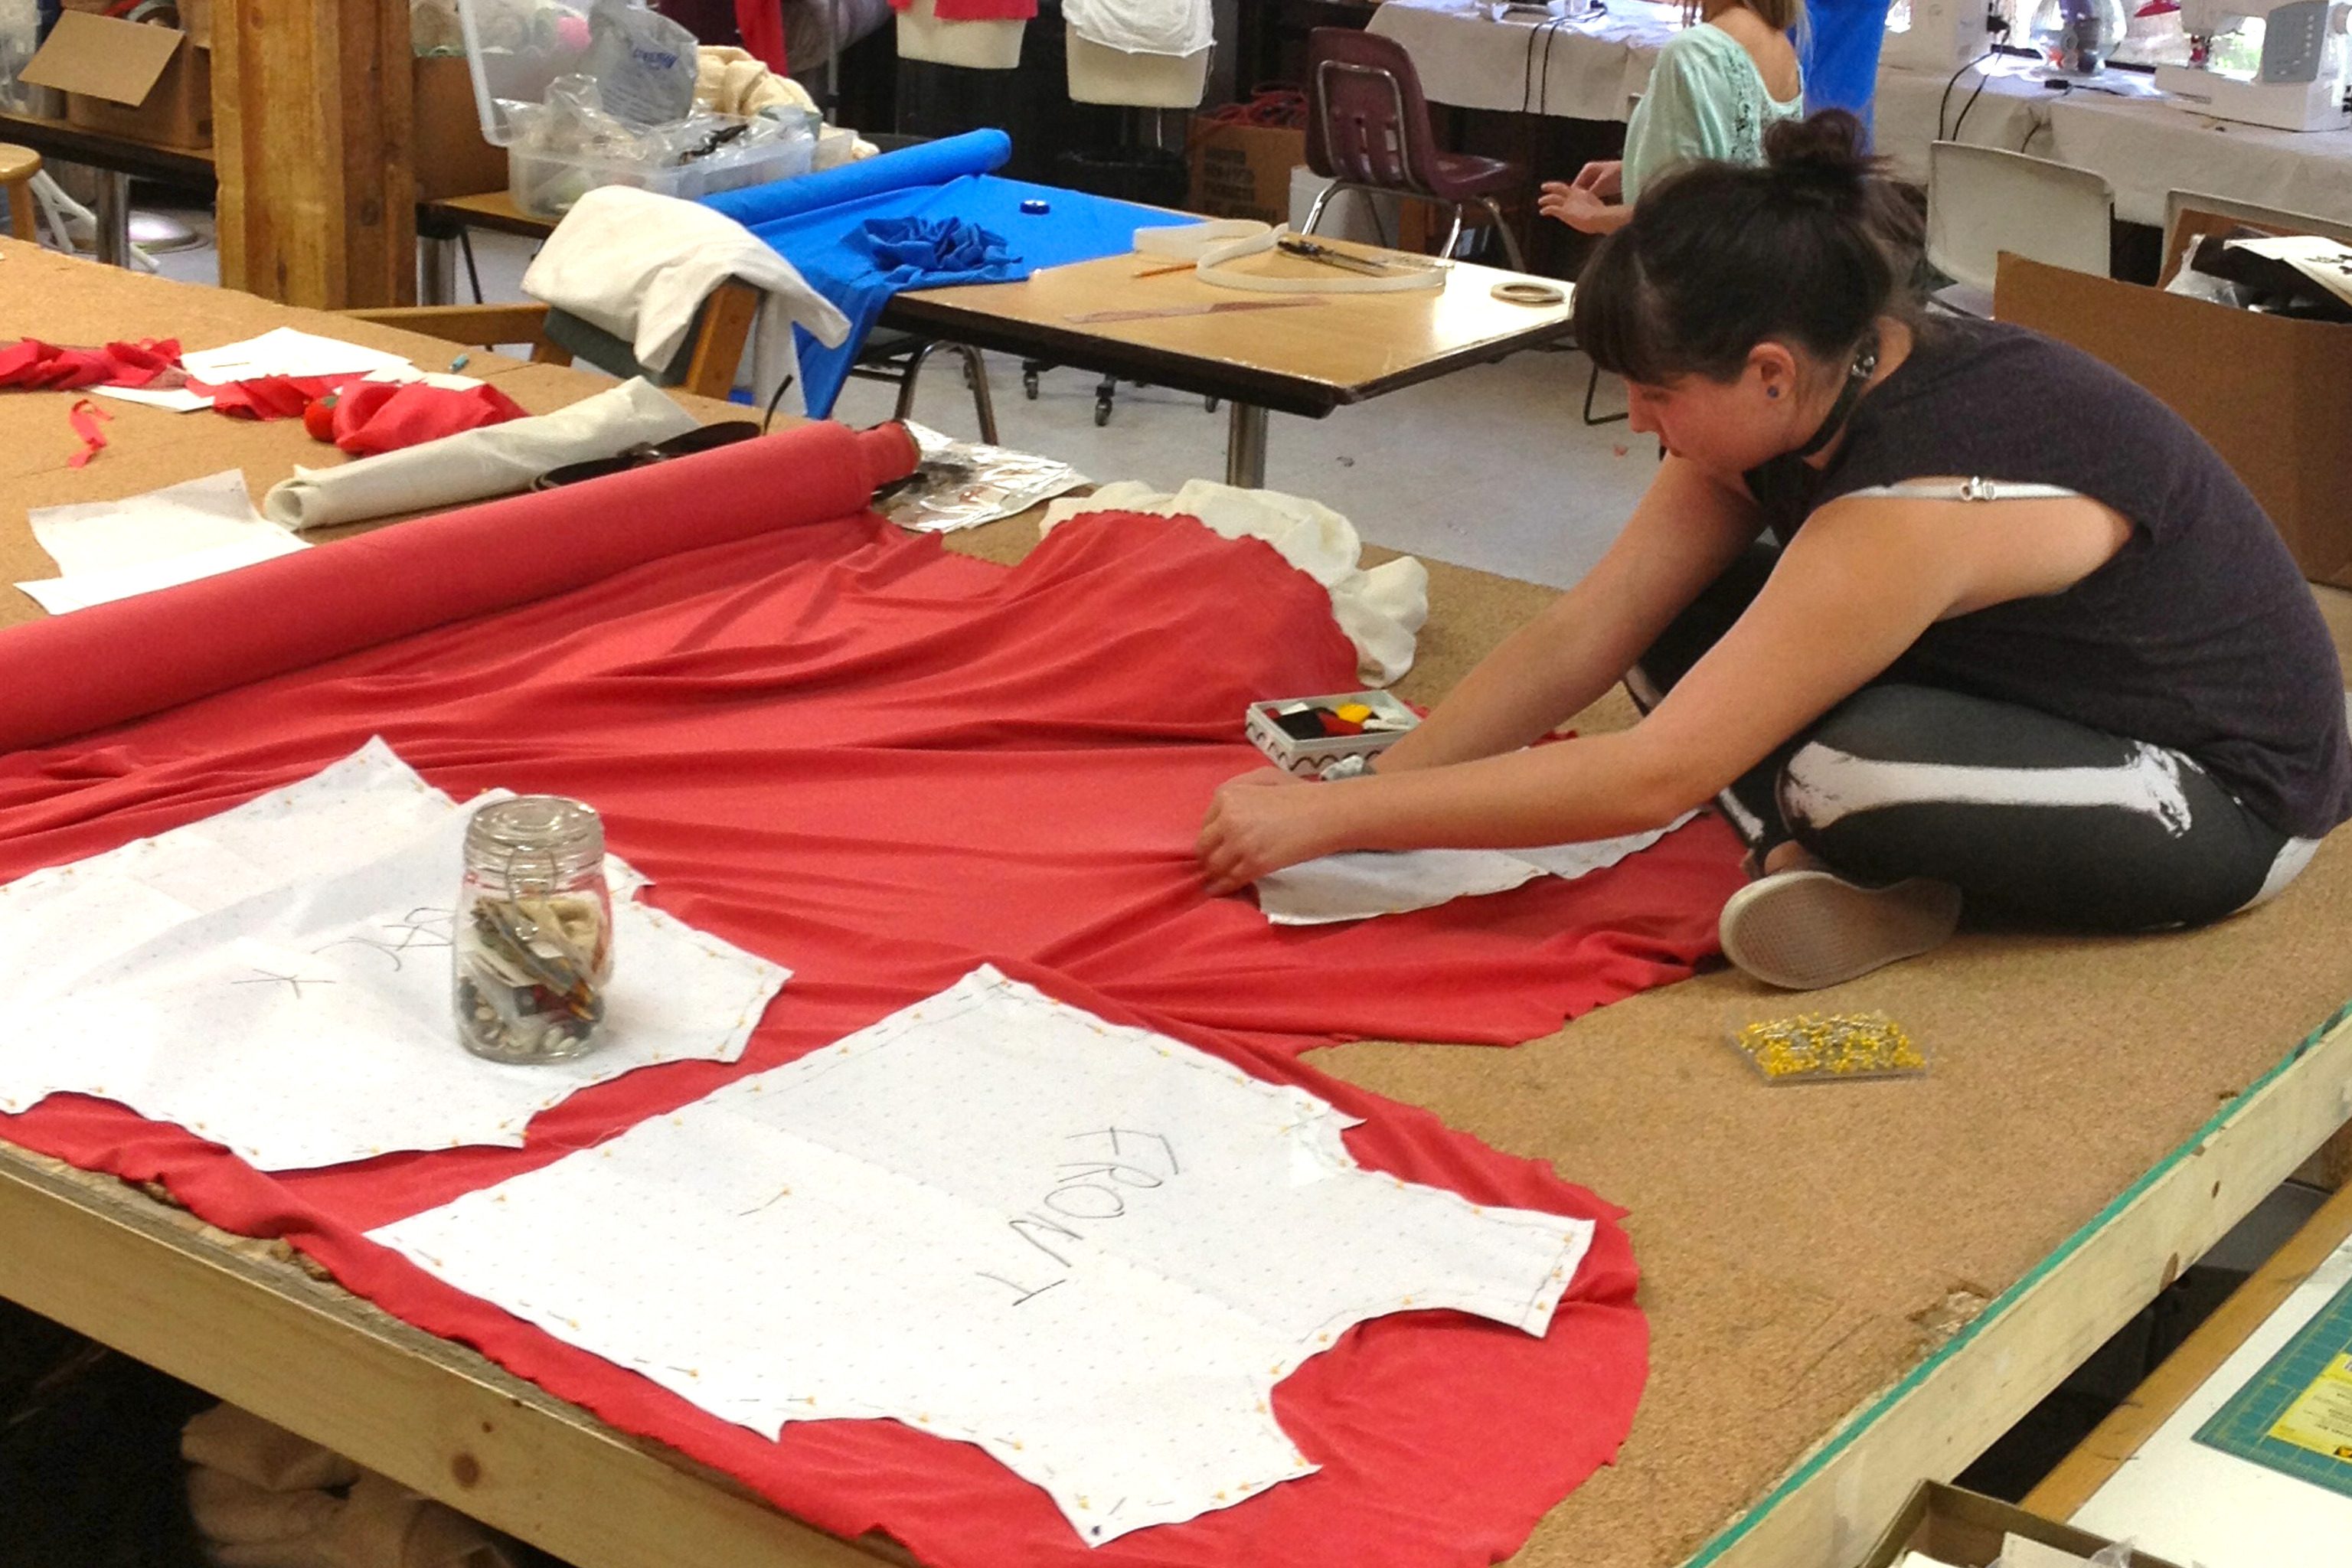
Draft a pattern
Draft a simple repeating pattern using shapes and colors on grid paper, plan motifs, transfer designs, and test variations for a creative fabric print.


Step-by-step guide to draft a simple repeating pattern on grid paper
Paper Snowflakes #02 - Easy Paper Snowflakes - How to make Snowflakes out of paper
Step 1
Gather all materials listed and set them on a clear workspace.
Step 2
Choose a simple theme and pick 2 or 3 shapes to use as your motifs.
Step 3
Decide on 2 main colors and 1 accent color for your pattern.
Step 4
Use your ruler to draw one square tile on the grid paper with pencil (for example 6 by 6 grid squares).
Step 5
Lightly sketch your chosen motif inside the tile using the pencil.
Step 6
Lay tracing paper over your sketch and trace the motif with pencil to create a copy.
Step 7
Transfer the traced motif to adjacent tiles by placing the tracing paper over each tile and tracing through it to repeat the design.
Step 8
Continue transferring the motif until you fill several rows and columns to form a repeating pattern.
Step 9
Color the motifs using your chosen colors to see how the pattern looks with color.
Step 10
Try one quick variation by rotating a motif or swapping one color and observe how the pattern changes.
Step 11
Make any final touch-ups with your pencil or colors to finish the design.
Step 12
Share your finished fabric print pattern on DIY.org
Help!?
What can we use if tracing paper or grid paper are hard to find?
Use thin printer paper or wax paper over your sketch instead of tracing paper, and draw a grid with your ruler on plain paper to create the square tile described in step 4.
My repeated motifs aren't lining up across tiles—what should I check?
Make sure the tracing paper is aligned to the same grid lines and tile edges and use the ruler to mark matching reference points on each tile before transferring the motif in step 6.
How can I adapt the activity for younger or older kids?
For younger children, use one simple shape, larger tiles from step 4, and stickers or stamps to trace, while older kids can work on smaller 6x6 grid tiles, add more colors, and try the rotation/color-swap variation in step 9.
How can we extend or personalize the finished pattern beyond coloring?
Scan or photograph your colored pattern from step 8, tile it digitally to make a larger fabric print for a pillow or tote, and then share the finished fabric print pattern on DIY.org as suggested.
Watch videos on how to draft a simple repeating pattern on grid paper
How to Make SNOWFLAKES for Kids - Easy 4 Beginners with Cutting Ideas! #snowflakes #mrschuettesart
4 Videos
How to Make SNOWFLAKES for Kids - Easy 4 Beginners with Cutting Ideas! #snowflakes #mrschuettesart
How to make Snowflakes out of paper in 5 minutes - Paper Snowflakes #37

How to make easy paper snowflakes - Paper Snowflake #08
How to Make a Paper Snowflake! | Project for Kids
Facts about textile design for kids
🎨 Many fabric prints start from a tiny motif that’s repeated across a grid — one small sketch can cover an entire shirt!
🧮 Graph paper is a designer’s secret tool: every square can stand for a fixed measurement, making repeats easy to plan and scale.
🔁 Mathematicians count four basic 2D symmetry operations used in repeats: translation, reflection, rotation, and glide reflection — designers mix these for variety.
🌈 Changing just one color in a repeat can make the whole print feel warmer, cooler, calmer, or louder — color choices really transform motifs.
✂️ Pro designers first create a repeat tile and then ‘mock up’ it tiled many times to check seams — you can do the same by photocopying or taping printouts together.
How do I help my child draft a simple repeating pattern using shapes and colors on grid paper for a fabric print?
What materials do I need to draft a repeating pattern on grid paper for a fabric print?
What ages is drafting simple repeating patterns on grid paper suitable for?
What are the benefits of drafting repeating patterns for children and how can we vary the designs?
