Bridge a 4' gap with lego®
Design and build a LEGO bridge spanning a four-foot gap between supports, test stability with small weights, and learn basic engineering principles.


Step-by-step guide to Bridge a 4' gap with LEGO®
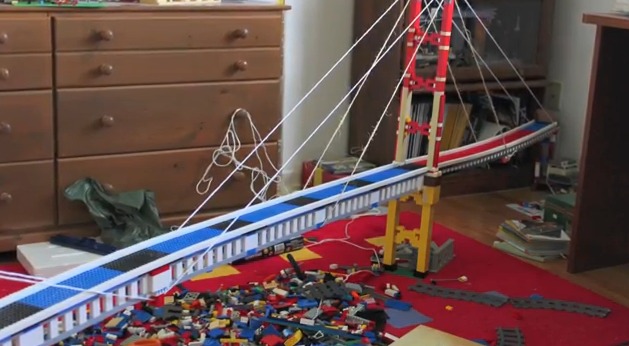
Tutorial On How To Make A Rope Bridge With LEGO Bricks
Step 1
Gather all Materials Needed listed above.
Step 2
Pick a safe flat area where you can work and leave a four foot gap between supports.
Step 3
Measure a four foot distance on the floor using the measuring tape or ruler.
Step 4
Place the two sturdy supports at the measured endpoints to create the gap.
Step 5
Sketch a simple bridge design in your notebook showing how the LEGO will span the gap.
Step 6
Select the LEGO pieces you will use for the bridge deck and for side supports.
Step 7
Build two LEGO end platforms that will sit on top of each support.
Step 8
Build the bridge deck pieces long enough to reach from one end platform to the other.
Step 9
Add truss sides or arch elements to the deck to make the bridge stronger.
Step 10
Carefully place the bridge across the supports so each end platform rests securely.
Step 11
Test the bridge by placing one small weight in the middle and watching for wobble or sag.
Step 12
Look for any wobble or loose joints and choose one weak spot to improve.
Step 13
Reinforce the chosen weak spot using extra LEGO pieces or cross braces.
Step 14
Repeat the weight test by adding one small weight at a time to see how much the bridge holds.
Step 15
Share your finished LEGO bridge and what you learned about engineering on DIY.org.
Help!?
What can we use if we don't have a measuring tape or sturdy supports listed in the materials?
Use a length of string marked at four feet or count floor tiles for the measurement, and replace the sturdy supports with two stacks of heavy books or matching boxes at the measured endpoints so the end platforms (step 7) have something solid to sit on.
The bridge wobbles or sags when we put a weight in the middle—what should we try first?
First ensure each LEGO end platform from step 7 is sitting fully on the supports, then reduce wobble by reinforcing the weakest joint you found in step 11 with extra LEGO cross braces or extra truss/arch pieces from step 8.
How can we adapt this project for different age groups?
For younger kids make the gap shorter (about 2 feet), use larger DUPLO or prebuilt deck sections for step 6, and for older kids keep the full four-foot span, sketch more detailed truss plans in the notebook (step 5), and record incremental weight test results from steps 11–13.
What are simple ways to extend or personalize our LEGO bridge after finishing the basic build?
Personalize the bridge by adding decorative railings or a LEGO nameplate to your sketch (step 5), glue the finished bridge to baseplates for display after testing (step 14), and try adding additional truss layers or symmetrical braces before sharing your result on DIY.org (step 15).
Watch videos on how to Bridge a 4' gap with LEGO®
Building 10 MOVABLE Lego Bridges
4 Videos

Building 10 MOVABLE Lego Bridges

Lego Bridges - STEM Challenge and Remote Lesson Plan

Building the Strongest LEGO Bridge!

LEGO Build: Bridge
Facts about bridge engineering for kids
🧱 Two 2×4 LEGO bricks can be combined in 24 ways — and six of them can be arranged in 915,103,765 different ways!
📏 A 4-foot gap is about 1.22 meters — just about the length of a small table or the width of a doorway.
🔺 Triangles are super-strong: engineers use triangular trusses because triangles keep their shape under push and pull.
⚖️ Real bridges are designed with safety factors, meaning they can hold several times the expected load — testing teaches this engineering idea.
🌉 A beam supported at both ends bends most in the middle, so reinforcing the center of your LEGO span helps prevent sagging.
How do I design and build a LEGO bridge that spans a four-foot gap?
What materials and LEGO pieces do I need to build a 4-foot bridge?
What ages is building a four-foot LEGO bridge suitable for?
What are the benefits and safety tips for a LEGO bridge project?
