Make a soft box
Build a small soft box using a cardboard box, tracing paper, and an LED light to learn how diffused light creates softer, even illumination.

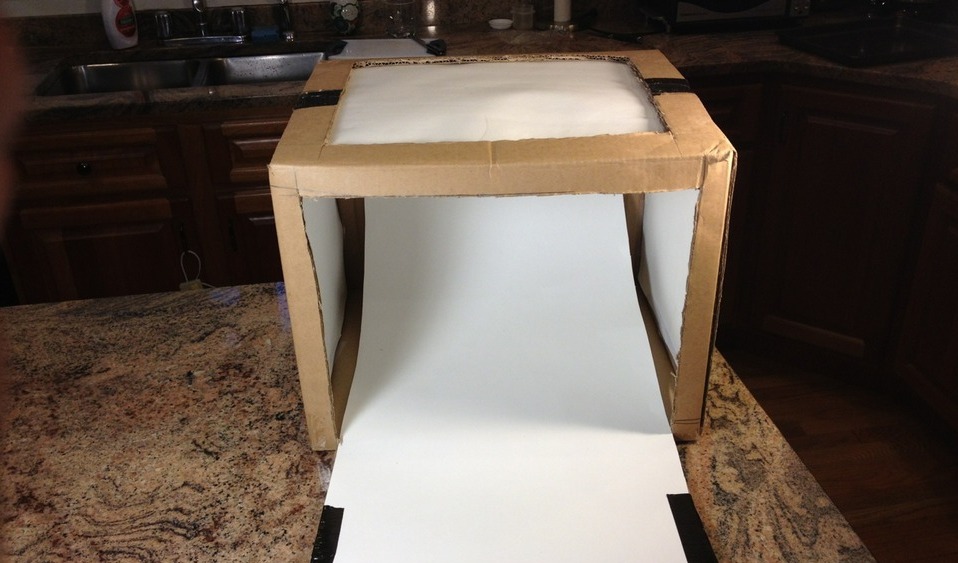

Step-by-step guide to make a soft box
How To Create A DIY Photography Softbox At Home 2021
Step 1
Gather all materials and bring them to a clean flat workspace.
Step 2
Choose one side of the box to be the front and use the pencil and ruler to draw a rectangle that leaves a 2 to 3 cm border all around.
Step 3
With an adult's help cut out the rectangle to make a window in the front of the box.
Step 4
Place a sheet of tracing paper over the window and use scissors to cut it about 1 cm larger than the window on every side.
Step 5
Tape the tracing paper to the outside of the window and smooth it so there are no big wrinkles.
Step 6
Line the inside of the box with black paper or dark cloth by taping it to the inside walls to reduce shiny reflections.
Step 7
Make a small hole in the back or side of the box just big enough for the LED to fit through.
Step 8
Push the LED through the hole so the light points at the tracing paper.
Step 9
Tape the LED in place from the outside or inside so it cannot move.
Step 10
Close and tape the top of the box to stop extra light from leaking in.
Step 11
Turn on the LED and look at the light shining through the tracing paper to see the softer more even glow.
Step 12
If you want an even softer light add another layer of tracing paper over the window and tape it flat.
Step 13
Share a photo or short description of your soft box and what you learned on DIY.org
Help!?
What can I use if I can't find tracing paper or an LED?
If you don't have tracing paper, use white baking/parchment paper, vellum, a translucent plastic folder, or thin tissue cut 1 cm larger than the window and taped smooth over it, and if you don't have an LED use a small flashlight or battery tea light pushed through or held at the hole so light points at the tracing-paper window.
The light still looks harsh or uneven—what should I check?
Make sure the tracing paper is taped smooth with no big wrinkles (step 5), that the LED is pushed through and taped so it points directly at the tracing paper (steps 8–9), add the second tracing-paper layer (step 13) if needed, and confirm the top and seams are taped and the inside is lined with black paper or dark cloth (step 6) to stop leaks and reflections.
How can I adapt this soft box activity for different ages?
For toddlers, have an adult do the cutting and hole-making while the child tapes the tracing paper, decorates the outside, and turns on the LED, and for older kids let them measure and cut the window, install the LED themselves, and experiment with extra layers or multiple LEDs to compare the glow.
What are easy ways to enhance or personalize the soft box?
Personalize by decorating the outside of the box, swap colored cellophane or gels over the tracing-paper window, make a removable front panel to try different diffusion layers, or line parts with reflective foil under the black lining to change the softness and direction of the glow before sharing a photo on DIY.org.
Watch videos on how to make a soft box
How to make lighting Softbox at home for YouTube and Photography | cardboard light diffuser
4 Videos
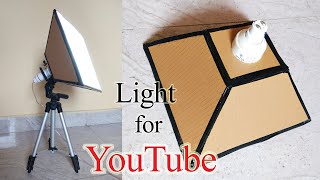
How to make lighting Softbox at home for YouTube and Photography | cardboard light diffuser
DIY Soft Box | How to make a soft light for filming and photography
DIY Softbox: How to Make a Large Softbox
How to make Photography lighting Softbox at home || DIY Studio Lights - How to Build Your Own!
Facts about lighting and photography for kids
💡 LEDs use much less energy than incandescent bulbs and stay cool, which makes them great and safe for kid-built lights!
📦 Cardboard (corrugated fiberboard) is light, strong, and recyclable — builders and inventors love it for quick prototypes.
🧾 Tracing paper is semi-transparent so it scatters light, turning a bright point into a soft glow — perfect for diffusing LEDs.
☁️ A softbox works like a tiny cloud around a light: it spreads light evenly and makes harsh shadows disappear.
📸 Photographers often use diffused light for portraits and product photos because it creates smooth skin tones and richer colors.
How do you make a soft box using a cardboard box, tracing paper, and an LED light?
What materials do I need to make a soft box for a kid's light experiment?
What ages is this soft box activity suitable for?
What are the benefits and safety tips for doing a soft box activity with kids?
