Build a rail system in minecraft
Design and build a Minecraft rail system with tracks, powered rails, stations, and minecarts; test routes, adjust slopes, and improve efficiency.

Step-by-step guide to build a Minecraft rail system
Minecraft: How to make a railway system
Step 1
Open Minecraft and load the world where you want to build your rail system.
Step 2
Pick a start point and place a tall block marker so you remember where the line begins.
Step 3
Pick an end point and place a tall block marker so you remember where the line ends.
Step 4
Walk from the start marker to the end marker to choose the exact route you want the rails to follow.
Step 5
Mark the chosen route by placing temporary blocks every few steps so you can see it clearly.
Step 6
Clear obstacles along the marked route by removing trees and blocks that are in the way.
Step 7
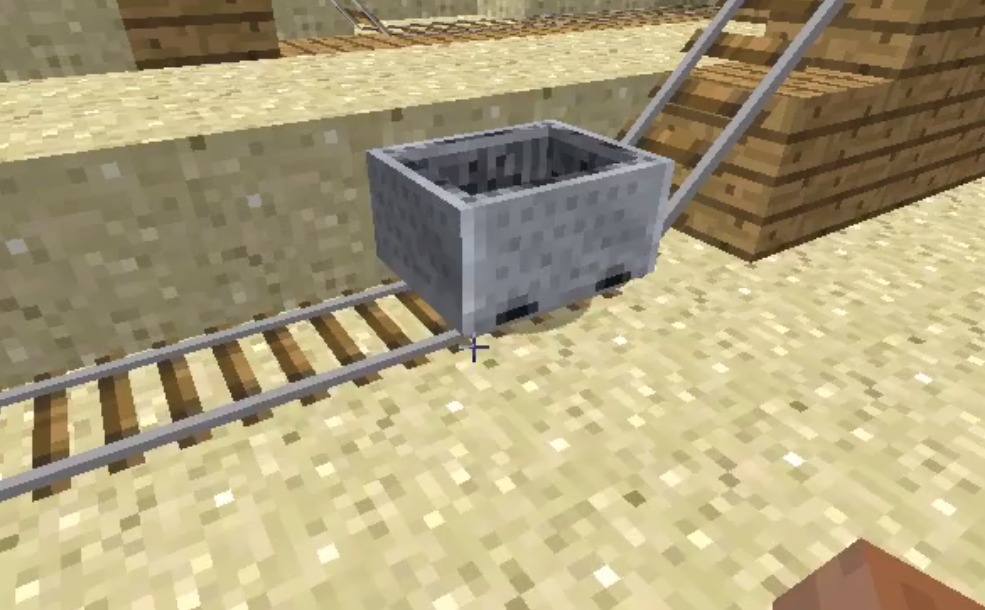
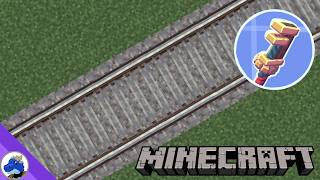
Lay regular rails along flat, cleared sections by placing rails one after another on the ground.
Step 8
Place powered rails on slopes and spaced across flat sections (try starting with one every 8–12 blocks) to help the cart keep speed.
Step 9
Power the powered rails by placing redstone torches or levers next to them and connect with redstone dust as needed.
Step 10
Build a simple station platform at the start and at the end by placing building blocks beside the track.
Step 11
Add a sign with the station name and a button or pressure plate to the platform so riders can stop or start the cart.
Step 12
Put a minecart on the track and test the route by riding in it or pushing it along the line.
Step 13
Watch where the minecart slows or gets stuck and adjust by adding more powered rails or smoothing steep slopes.
Step 14
Add fences and torches along your line to keep it safe and visible at night.
Step 15
Take screenshots or a short video and share your finished rail system on DIY.org.
Help!?
What can I use instead of powered rails or redstone torches if they’re hard to craft or find?
If you don't have powered rails or redstone torches, use a furnace minecart to push the cart during the 'test the route' step or manually push the minecart along the laid rails.
My minecart keeps stopping — what should I check and fix first?
If the minecart slows or gets stuck during 'test the route', add powered rails at problem spots, place nearby redstone torches or levers to power them, and smooth steep slopes as suggested in the 'Watch where the minecart slows' step.
How can I adapt this rail-building activity for different ages?
For younger kids use Creative mode and let an adult place 'temporary blocks' and 'clear obstacles' while older kids can add redstone circuitry like powered-rail timing and 'button or pressure plate' station automation.
What are simple ways to extend or personalize the rail system after it works?
Personalize and enhance the system by building themed 'station platforms' with signs, adding fences and torches along the line for visibility, creating branching routes with switches, and recording a short video to share on DIY.org.
Watch videos on how to build a Minecraft rail system
How to make the best Automatic Railway in Minecraft
4 Videos
How to make the best Automatic Railway in Minecraft
Minecraft Fastest Rail System | How to build a Fast Rail System \\ Check Description
How to Build the Simplest Railway in Minecraft! 🚂🛠️
How to make a basic train (Understanding Create's Train Basics) - Minecraft: Create Mod
Facts about Minecraft engineering and transportation
🚀 Minecraft launched in 2009 and Creative mode is perfect for designing and testing giant rail networks.
⚡ Powered rails are crafted from gold ingots, a stick, and redstone dust and can speed up or brake minecarts depending on power.
🔌 Redstone torches, levers, and redstone dust are common ways to power rails and automate stations.
🧳 Minecarts can carry players or items — chest minecarts and hopper minecarts help move cargo along your tracks.
🚉 Stations can be automated with detector rails, redstone circuits, and powered rails so carts stop, load, and depart on schedule.
How do you build a Minecraft rail system?
What materials do I need for a Minecraft rail system?
What ages is building a Minecraft rail system suitable for?
What are fun variations and challenges for a Minecraft rail project?
