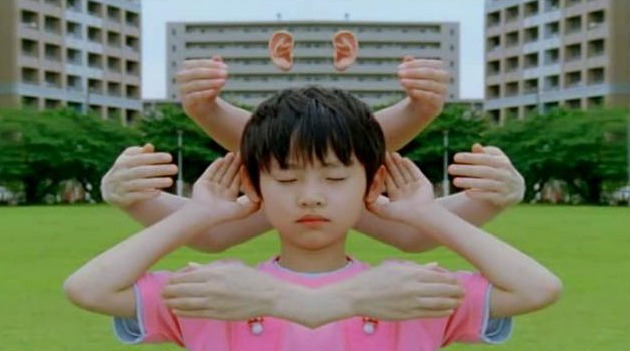
Make an experimental film
Create a short experimental film using a smartphone or camera, simple props, editing apps, and creative camera techniques to explore visual storytelling.


Step-by-step guide to make an experimental film
15 Best Kids Science Experiments to Do at Home
Step 1
Pick a short idea or theme for your experimental film like “floating colors” or “tiny world.”
Step 2
Choose three to five small props that match your idea.
Step 3
Make a simple background by taping colored paper to a wall or using a cardboard shoebox as a set.
Step 4
Decide on two camera techniques to try such as close-up slow motion reflections stop-motion or moving shots.
Step 5
Place your flashlight or lamp so it creates cool shadows or bright highlights on your set.
Step 6
Film a 10-second close-up clip of one prop to capture details.
Step 7
Film a 10-second moving shot by slowly walking the camera around the prop or slowly moving the prop past the camera.
Step 8
Film a short reflection or shadow clip using the bowl of water or by angling the flashlight.
Step 9
Make a quick stop-motion scene by moving a toy a tiny bit and taking 10 to 15 photos.
Step 10
Import your clips and photos into your simple video editing app.
Step 11
Arrange the clips into an order that makes a visual story or mood.
Step 12
Add simple edits like trimming clips changing speed or adding one music track or sound effect.
Step 13
Export and save your finished short experimental film to your device.
Step 14
Share your finished creation on DIY.org
Help!?
What can we use instead of a cardboard shoebox or colored paper for the background if we don't have them?
If you don't have a cardboard shoebox for a set, use a shoebox lid or a folded piece of poster board taped to a table as a simple background for the close-ups, stop-motion, and moving shots.
My moving shot looks shaky—how can we fix it when we "Film a 10-second moving shot by slowly walking the camera around the prop"?
If your 10-second moving shot is shaky, steady the camera by resting it on a tripod or stack of books, hold it with both hands and move very slowly while keeping the prop at the same distance, or instead do a smooth tabletop pan.
How can we change the activity for different ages while still following steps like filming close-ups, reflections, and stop-motion?
For younger kids (4–6) simplify to two chunky props and film only the 10-second close-up and a shadow clip with an adult handling the flashlight, while older kids (10+) can try slow motion, longer stop-motion sequences of 20+ photos, and more detailed edits in the video app.
What are easy ways to extend or personalize the film beyond the basic trimming and single music track?
To enhance the project, add a recorded voiceover or title card during the 'Arrange the clips' step, use colored cellophane over the flashlight to change highlights in the reflection/shadow clip, and include a short behind-the-scenes stop-motion when exporting the final film.
Watch videos on how to make an experimental film
5 Easy Science Experiments for Kids with DeeDee | Learn at Home
4 Videos
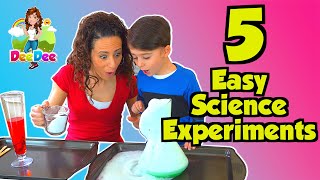
5 Easy Science Experiments for Kids with DeeDee | Learn at Home

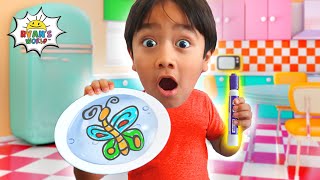
Top 5 Easy Science Experiments for kids to do at home with Ryan's World!
TOP 10 DIY Science Experiment for kids to do at home with Ryan's World!
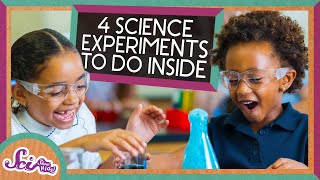
4 Amazing Science Experiments for a Day Inside | Compilation | SciShow Kids
Facts about filmmaking for kids
🎬 Experimental film has roots in the early 1900s and was shaped by pioneers like Maya Deren and Stan Brakhage.
📱 Modern smartphones can shoot in 4K and slow motion — many acclaimed indie shorts are now filmed on phones.
🔁 Found-footage and collage techniques are common in experimental work—some films are made entirely from recycled clips.
✂️ Editing tricks like jump cuts, reverse playback, and speed changes are powerful tools for experimental storytelling.
🧪 Microfilm festivals celebrate very short works—there are contests for films that are 30 or 60 seconds long.
How do I make a short experimental film with my child using a smartphone or camera?
What materials do I need to make a child-friendly experimental film?
What ages is this experimental film activity suitable for?
What are the benefits of making experimental films with children?
