Build a stick fort
With adult supervision, collect sticks, rope, and tarp to design and build a small outdoor stick fort, learning measurement, teamwork, and basic structural stability.


Step-by-step guide to build a stick fort
How to Build a Stick Fort!
Step 1
Put on your garden gloves so your hands stay safe.
Step 2
With an adult go outside and collect about 20 to 30 sturdy sticks from the yard.
Step 3
Use the measuring tape to measure and choose a square or rectangle on the ground for your fort base.
Step 4
Sort your collected sticks into short medium and long piles.
Step 5
Lay two long sticks parallel on the ground to form the first side of the base.
Step 6
Place two more long sticks across the ends to finish a rectangle base shape.
Step 7
Tie each corner of the rectangle with rope so the base holds its shape.
Step 8
Lay medium sticks across the middle of the base as cross-braces for extra strength.
Step 9
Wrap rope around the places where sticks cross to secure the cross-braces.
Step 10
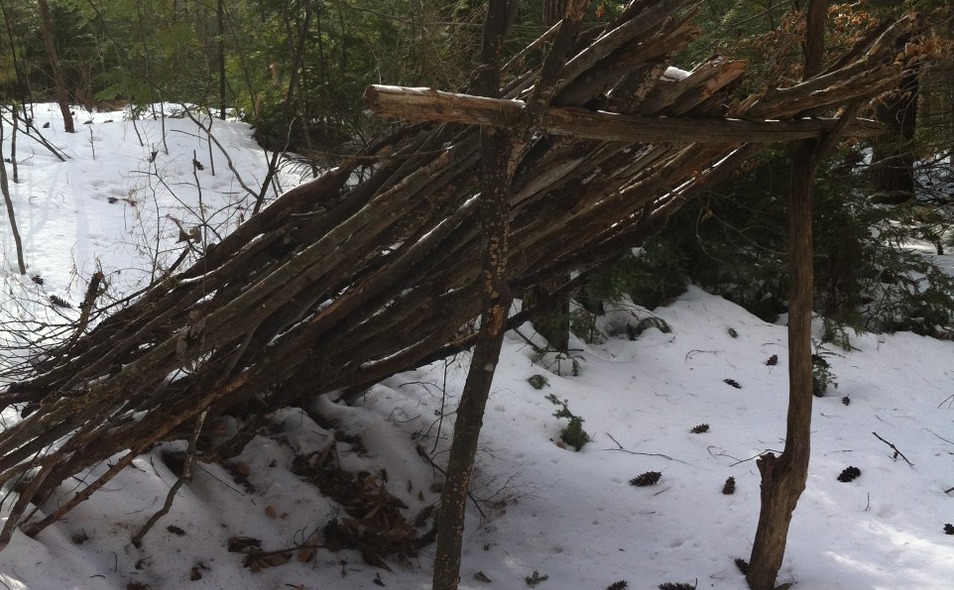
Lean long sticks at an angle against the base to create walls and a roof frame.
Step 11
Drape the tarp over the leaned sticks to make the roof and walls of the fort.
Step 12
Secure the tarp edges by tucking them under small rocks or tying them with rope.
Step 13
Gently press on different parts of the fort to test stability and ask an adult to help tighten any loose spots.
Step 14
Share a photo and a short story about your finished stick fort on DIY.org
Help!?
What can we use instead of a measuring tape, rope, or tarp if we don't have them?
Use a long piece of string or a shoelace to measure the fort base instead of a measuring tape, swap rope for sturdy twine or bungee cords to tie the corners and cross-braces, and use an old bedsheet or shower curtain to drape over the leaned sticks in place of a tarp.
My fort keeps wobbling or the corners come loose — how do we fix that?
Have an adult re-tie each corner with extra wraps and a square knot, add more medium sticks as cross-braces across the middle and wrap rope where sticks cross, and press short stick ends slightly into the soil before tightening so the base grips the ground better.
How can I change this activity for younger kids or older kids?
For toddlers let them wear garden gloves and help collect sticks while an adult measures the base and ties corners, for elementary kids let them sort short/medium/long sticks and help secure cross-braces, and for older kids have them use the measuring tape to plan a larger rectangle, arrange angled roof sticks, and design a tarp door or window.
What are fun ways to improve or personalize our finished stick fort?
Strengthen and personalize the fort by tucking a blanket or extra tarp inside for a floor, decorating sticks with washable paint or ribbons, securing tarp edges with extra rocks or tied rope loops as stakes, and hanging a battery-powered lantern for evening stories before sharing your photo and short story.
Watch videos on how to build a stick fort
DIY Popsicle Stick Fort Tutorial
4 Videos
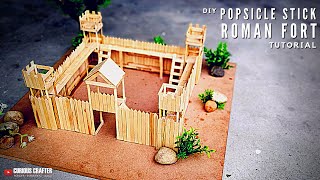
DIY Popsicle Stick Fort Tutorial

Build an Epic Fort in Minutes! 🏰 Fun & Easy Steps for Kids 🌟
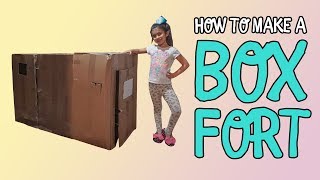
How To Build a Box Fort for KIDS (Simply & Easy)

How To Build DIY Box Fort at Home | Ellie Sparkles Show | Video for kids | WildBrain Wonder
Facts about outdoor shelters and basic engineering for kids
🪵 Tripod structures made from three strong sticks are super-stable — ancient builders used them to hold pots and shelters.
📏 Measuring twice and marking before tying or cutting can save lots of time and make your fort fit together better.
🪢 Simple knots like the square knot and the bowline can join ropes or make secure loops — perfect for forts (with adult help).
🌧️ A tarp can become a waterproof roof with just a ridgeline and well-anchored corners — great for keeping forts dry.
🤝 Fort-building is a teamwork practice: groups who plan roles and communicate finish faster and stay safer.
How do we build a stick fort with children?
What materials do I need to build a stick fort?
What ages is building a stick fort suitable for?
What safety precautions should we take when making a stick fort?
