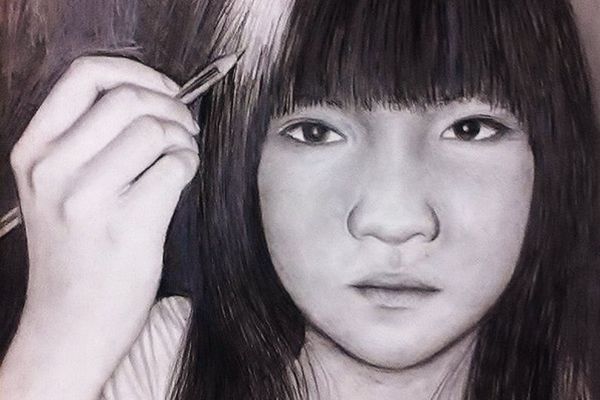
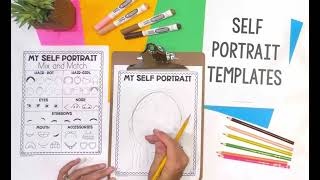
Draw a self-portrait
Draw a self portrait using a mirror, pencil, and colors; observe proportions, features, and expressions to practice careful observation and artistic skills.

Drawing Apps
Step-by-step guide to draw a self-portrait
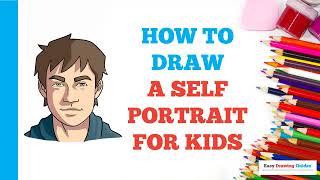
How To Draw A Self Portrait: For Kids!
Step 1
Gather your materials.
Step 2
Sit in a comfortable spot with good light facing the mirror.
Step 3
Lightly draw a large oval for your head using your pencil.
Step 4
Lightly draw a vertical line down the center of the oval to find the face center.
Step 5
Lightly mark a horizontal eye line halfway between the top of the oval and the chin.
Step 6
Lightly mark the nose point halfway between the eye line and the chin.
Step 7
Lightly mark the mouth line halfway between the nose point and the chin.
Step 8
Look closely in the mirror and lightly sketch your eyes nose and mouth following your guidelines.
Step 9
Draw your ears and the outer shape of your hair while watching the mirror.
Step 10
Add small facial details like eyebrows eyelashes freckles or dimples to show your expression.
Step 11
Erase the guideline marks and make the important lines darker and neater.
Step 12
Color your portrait using the coloring materials while matching the colors you see.
Step 13
Add a simple background or a bit of clothing so your portrait feels finished.
Step 14
Sign your name and write the date on your portrait.
Step 15
Share your finished self-portrait on DIY.org.
Help!?
I don’t have a mirror—what can I use instead to follow the “Sit in a comfortable spot with good light facing the mirror” step and still sketch my face?
Use a clear selfie photo taken with your phone's front camera or a reflective surface like a clean window, spoon, or piece of foil so you can study features and complete the sketching steps.
My pencil guidelines smudge when I erase—how can I keep the portrait tidy when I 'Erase the guideline marks and make the important lines darker and neater'?
Gently lift light guideline marks with a kneaded eraser and erase small areas at a time before you darken the key lines so the portrait stays clean for coloring.
How can I adapt this self-portrait activity for different age groups?
For younger kids, pre-draw the large oval and main guide lines and let them add eyes, nose, mouth, and color with crayons, while older kids should follow all proportion steps, refine facial details, and practice shading during the 'Color your portrait' step.
How can I extend or personalize my finished portrait beyond 'Add a simple background or a bit of clothing' and 'Sign your name and write the date'?
Extend and personalize it by adding collage elements or textured materials to the background, including a favorite accessory you saw in the mirror, and creating a dated series to share on DIY.org to show progress.
Watch videos on how to draw a self-portrait
Self Portrait Drawing for 3rd- 5th Grade | How to Draw a Face Step-by-Step Tutorial for Kids
4 Videos
Self Portrait Drawing for 3rd- 5th Grade | How to Draw a Face Step-by-Step Tutorial for Kids
How to Draw a Self Portrait: Easy Step by Step Drawing Tutorial for Beginners

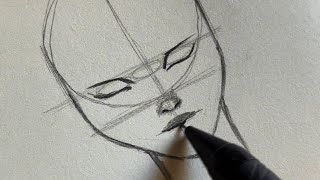
Unlock Your Portrait Drawing Skills: Loomis Method Tutorial Drawing girl
Step-by-Step Portrait Drawing Made Easy | Complete Guide for Beginners
Facts about portrait drawing for kids
🎨 Artists often paint self-portraits to practice — Rembrandt made nearly 100 of them!
🪞 A mirror reverses your left and right, so a mirror view can look different from a photo selfie.
👀 A handy portrait rule: the eyes usually sit about halfway down the head.
😃 Tiny changes in the brows or mouth can completely change a facial expression.
✏️ Most portrait artists start with a light pencil sketch, then build up details and color in layers.
How do I help my child draw a self-portrait using a mirror?
What materials do I need to draw a self-portrait with a mirror?
What ages is drawing a self-portrait suitable for?
What are the benefits of drawing self-portraits?
