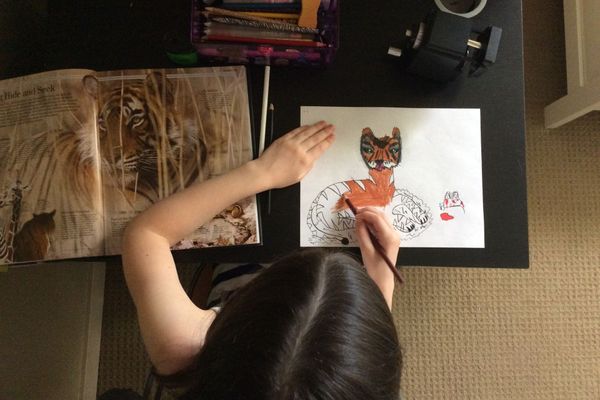
Draw from a photograph
Use a printed photograph to create a careful pencil or colored drawing, practicing observation, proportion, shading, and color matching skills step by step.

Drawing Apps
Step-by-step guide to draw from a photograph
How To Draw A Self Portrait: For Kids!
Step 1
Pick a printed photograph with a clear subject and place it where you can see it easily.
Step 2
Lay your drawing paper and all your pencils and colored pencils neatly on your workspace.
Step 3
Look at the photo for one minute and notice the big shapes and where they sit on the page.
Step 4
Use your pencil and ruler to draw light construction lines that mark the center and major proportions.
Step 5
Lightly sketch the main outline of the subject using the construction lines as a guide.
Step 6
Hold your pencil at arm’s length to measure widths and heights on the photo and note those measurements.
Step 7
Use your measurements to gently correct and refine the outlines of your sketch.
Step 8
Add smaller details like eyes petals or texture with light, careful lines.
Step 9
Shade the darkest areas first with gentle strokes using your graphite pencil.
Step 10
Soften and blend the shaded areas with a tissue or blending stump to make smooth tones.
Step 11
Test colored pencils on a scrap of paper to find the best color matches from the photo.
Step 12
Apply a light base layer of color to each area and build up more color in thin layers.
Step 13
Darken shadows where needed to increase contrast and make your drawing pop.
Step 14
Gently lift tiny highlights with your eraser to add sparkle and crisp edges.
Step 15
Sign your drawing and share your finished creation on DIY.org
Help!?
If I can't print a photograph or don't have a blending stump, what can I substitute so I can still follow the activity?
If you can't print the photo, prop the image on a tablet or phone where you can see it clearly for the 'look at the photo' step, and if you lack a blending stump soften shaded areas by rubbing gently with a clean tissue or a cotton swab as suggested in the 'soften and blend' instruction.
My sketch looks out of proportion after I drew construction lines—what should I do to fix it?
Re-measure by holding your pencil at arm's length to compare widths and heights as instructed, lighten or erase the incorrect construction lines, then use your ruler to re-mark centers and major proportions before refining the outlines.
How can I adapt this activity for different age groups so it's enjoyable and appropriately challenging?
For young children (4–6) use a large, simple photo, chunky pencils, and focus only on the 'big shapes' and main outline steps; for ages 7–10 introduce arm's-length measuring and basic shading; for older kids (11+) emphasize layered colored-pencil work, blending with a stump or tissue, darkening shadows, and lifting highlights with an eraser.
What are some ways to extend or personalize the finished drawing beyond signing and sharing on DIY.org?
Extend the project by testing and layering different media on scrap paper (for example watercolor washes under colored pencils as you 'apply a light base layer'), creating a themed series from the same photo in different lights to practice 'darken shadows' and 'lift highlights', or framing the signed drawing and photographing a time-lapse of your process to upload to DIY.org.
Watch videos on how to draw from a photograph
3 Fun Self Portrait Activities For Kids | How To Draw A Face
4 Videos
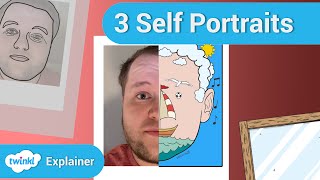
3 Fun Self Portrait Activities For Kids | How To Draw A Face

How to start drawing (for beginners)
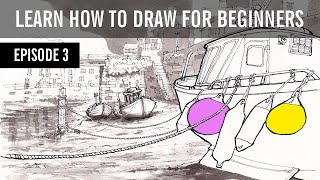
Learn HOW TO DRAW for BEGINNERS - Episode 3 - | Observation & Texture Techniques Tutorial
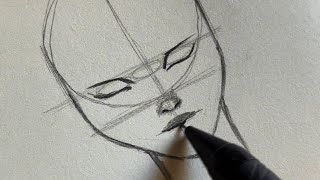
Step-by-Step Portrait Drawing Made Easy | Complete Guide for Beginners
Facts about observational drawing for kids
🎨 Copying a photograph is a classic art-school exercise because it trains observation, proportion, and shading all at once.
📸 The first permanent photograph (1826) needed hours of exposure — today instant photos make practice super quick!
✏️ Graphite pencils are graded from 9H (very hard, light) to 9B (very soft, dark); artists often use several grades for smooth shading.
👁️ Our brains are tuned to facial proportions — tiny changes in spacing or angle can make a face look very different.
🖍️ Many painters can mix thousands of colors using just three primaries plus white, a great trick for matching photo colors.
How do you draw from a photograph step by step?
What materials do I need to draw from a photograph?
What ages is drawing from a photograph suitable for?
What are the benefits of drawing from a photograph?
