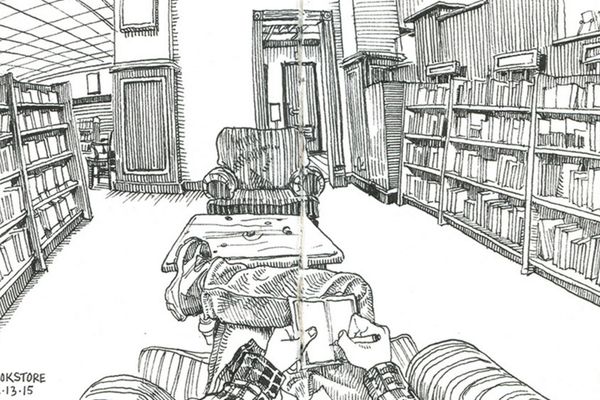
Draw your environment
Observe and draw your immediate environment, sketching objects, textures, and colors; label details and practice perspective to improve close observation skills.

Drawing Apps
Step-by-step guide to draw your environment
Save Earth Poster tutorial for kids || Save earth ,save environment drawing.
Step 1
Find a comfy spot where you can see several nearby objects to draw.
Step 2
Choose one small area of your environment that has interesting objects textures or colors.
Step 3
Sit still and pick one exact viewpoint to keep looking at while you draw.
Step 4
Place your paper on a flat surface so it does not move while you work.
Step 5
Lightly draw a horizon line and put a small dot for a vanishing point to help with perspective.
Step 6
Lightly sketch the biggest shapes of the objects to show where everything sits.
Step 7
Add smaller shapes and important details like handles leaves or patterns on objects.
Step 8
Use your ruler to draw straight lines from edges toward the vanishing point to make perspective lines.
Step 9
Erase any extra construction lines that you do not need anymore.
Step 10
Darken the main outlines that you want to keep so the drawing looks clear.
Step 11
Add shading and use your colouring materials to show textures light and color.
Step 12
Label a few details by writing the names of objects or the colors and then sign and date your drawing.
Step 13
Share your finished creation on DIY.org
Help!?
What can I use instead of a ruler, special colouring materials, or a drawing board if I don't have them?
If you don't have a ruler use the straight edge of a hardcover book or a cereal box to draw perspective lines toward your vanishing point, swap crayons or markers for colored pencils or watercolor pencils, and place your paper on a clipboard, hardcover book, or the lid of a box so it does not move while you work.
Why do my objects look flat or my perspective lines look wrong, and how can I fix that?
If objects look flat, lightly erase extra construction marks, re-check your horizon line and the small dot vanishing point from step 5, then use a straight edge to redraw straight perspective lines from edges toward the vanishing point before darkening the main outlines.
How can I adapt this drawing activity for younger children or older kids?
For younger children skip the vanishing point and ruler steps and have them trace and color one large object, for elementary kids keep the light sketching and simple perspective lines, and for teens focus on detailed shading, textures, labels, signing and dating, and sharing on DIY.org.
What are easy ways to enhance or personalize my finished drawing?
After you darken outlines and add shading in step 10, personalize by adding texture rubbings, watercolor washes or collage pieces for color, label a few details as in step 11, then sign, date, photograph or frame the drawing and share it on DIY.org.
Watch videos on how to draw your environment
How to draw world environment day poster, Save nature drawing easy
4 Videos
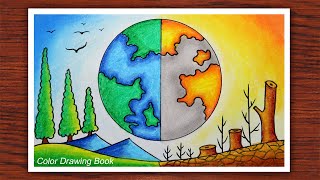
How to draw world environment day poster, Save nature drawing easy
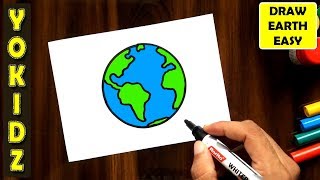
HOW TO DRAW EARTH EASY | how to draw earth for kids
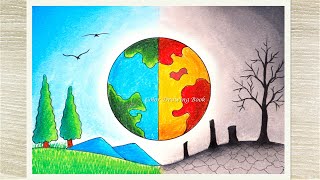
How to draw world environment day poster, Save Earth Drawing
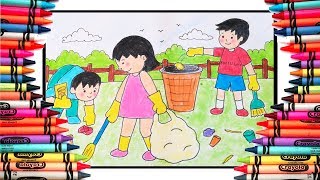
How to draw people cleaning environment easy drawing for beginners
Facts about observational drawing
👀 The human eye can distinguish about 10 million colors — perfect for spotting tiny shade differences when you draw!
🏛️ Linear perspective was popularized in the Renaissance (15th century) to make flat drawings look 3D and realistic.
✏️ Gesture sketches are super quick (often 30–60 seconds) and help you capture the overall layout before adding details.
🧠 Drawing what you see helps your memory and attention — sketching trains you to notice small details you might otherwise miss.
🪄 You can suggest textures like wood, brick, or fabric using only lines, dots, and shading — no extra materials needed!
How do I guide my child to observe and draw their immediate environment?
What materials do we need to draw our environment at home or outside?
What ages is observing and sketching the immediate environment suitable for?
What are the benefits of observing and sketching the immediate environment for kids?
