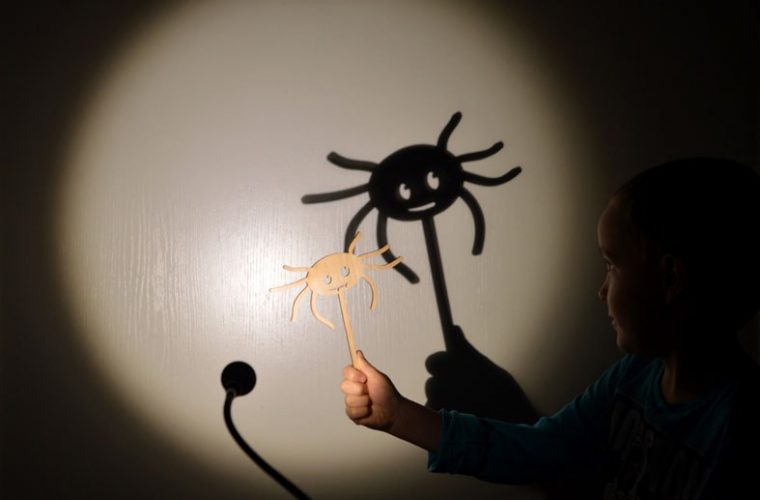
Take a photo using a gobo to create a shadow
Cut a simple gobo from cardboard or paper, place it between a light and subject, then photograph the shadow patterns to learn lighting techniques.


Step-by-step guide to take a gobo shadow photograph
Step 1
Gather all materials and put them on a clear table or floor so you can reach everything easily
Step 2
Pick a simple shape to make like a circle star or stripes and draw it on the cardboard with your pencil
Step 3
Carefully cut out the shape from the cardboard to make your gobo hole
Step 4
Attach the gobo to a stick or a clothespin with tape so you can hold it without touching the edges
Step 5
Place your lamp or flashlight on a table pointing toward the plain wall or white sheet and turn it on
Step 6
Put your toy or subject between the light and the wall where the light shines
Step 7
Hold the gobo between the light and the subject so the shadow pattern falls onto the subject or the wall
Step 8
Move the gobo closer to the light to make the shadow fuzzy or move it farther to make the shadow sharper
Step 9
Tilt the light or change its height to see how the shadow shapes stretch or shrink
Step 10
Try a different gobo shape or color the cardboard and repeat to make new shadow patterns
Step 11
Use your camera or phone to take a photo of the best shadow pattern you made
Step 12
Share your finished shadow-photo creation on DIY.org
Help!?
What can I use if I don't have cardboard, a clothespin, tape, or a lamp?
If you don't have cardboard, use a cereal-box panel or stiff plastic lid for the gobo, fasten it to a popsicle stick or skewer with rubber bands or clear tape, and use your phone flashlight or a desk lamp as the light source.
The shadow is faint or blurry — what should I check and change?
Turn off other room lights, place your lamp or flashlight so it's pointing at the plain wall or white sheet, and move the gobo closer to the light for fuzzier shadows or farther away for sharper ones while keeping the gobo attached to a stick to avoid hand shadows.
How can I adapt this activity for different ages?
For preschoolers, have an adult pre-cut large simple shapes and attach them so the child can safely hold the gobo and position a toy between the light and wall, while older kids can draw intricate gobos, color the cardboard, tilt the light, and experiment with camera settings before taking photos.
How can we extend or personalize the shadow-photo project?
Decorate or color your cardboard gobo, layer multiple cutouts, add colored translucent paper over the lamp for colored shadows, try moving the gobo during a long-exposure phone photo to create motion effects, and then share your finished shadow-photo creation on DIY.org.
Watch videos on how to take a gobo shadow photograph
Make Your Own Custom Gobos by Printing Transparencies Instead
4 Videos
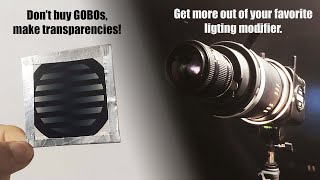
Make Your Own Custom Gobos by Printing Transparencies Instead
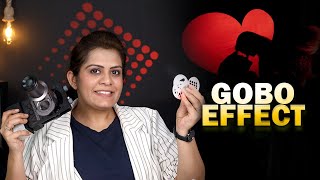
Try this New Effect ( GOBO ) in your Photography & Cinematography | LEVEL UP 🚀
How to Use Gobos to Create Special Lighting Effects - Creative Photography Ideas
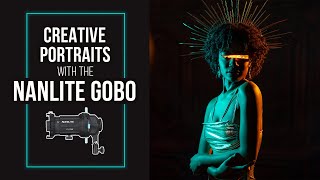
Creative Portrait Photography with the Nanlite Gobo
Facts about photography lighting and shadows
🎭 Gobos are templates (metal, glass, cardboard, or paper) used in stage and photo lighting to project shapes and textures onto a scene.
💡 A small, hard light source makes very crisp shadows, while a large or diffused light produces soft, fuzzy shadow edges.
✂️ You can cut an effective gobo from everyday cardboard or heavy paper—simple shapes often make the most dramatic patterns.
📷 Moving the gobo closer to the light yields a sharper, more defined projection; moving it closer to the subject makes the pattern larger and softer.
🌑 Shooting shadows and silhouettes helps kids learn about negative space, contrast, and how light tells a story in photos.
How do I take a photo using a gobo to create shadow patterns with my child?
What materials do I need to make a gobo and photograph shadows?
What ages is gobo shadow photography suitable for?
What safety tips should I follow when doing gobo shadow photography?
